

Communication with customers is an imperative aspect of B2B Commerce. Many organizations have specific customer service teams set aside to handle any issues raised by users of a B2B commerce system. Customer service has several communication channels , among them a live chat feature has been gaining popularity. This is not a chat bot. Those have a place as well, but this post concerns itself with the value-added proposition of supporting ones customers via an actual human being.
Adding Live Agent feature to B2B Commerce Portal enables agents and supervisors to chat with Portal customers and access other customer service tools in one place.
To Implement a Basic Live Agent for Salesforce B2B Commerce (CloudCraze) follow the simple steps below:
- Enable Live Agent
- Create Live Agent Users
- Create and Assign Live Agent Skills
- Create Live Agent Configurations
- Create Live Agent Deployments
- Create Chat Buttons
- Copy & Paste the Code Snippets on the B2B Commerce Portal
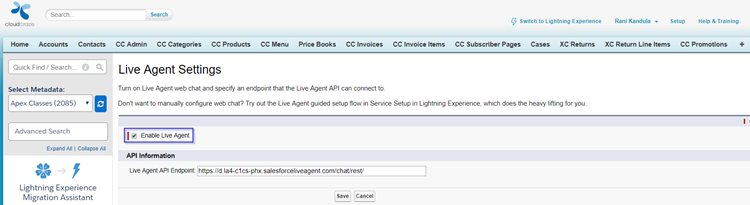
Step 1 Enable Live Agent
Go to Setup > Live Agent Settings and Enable Live Agent
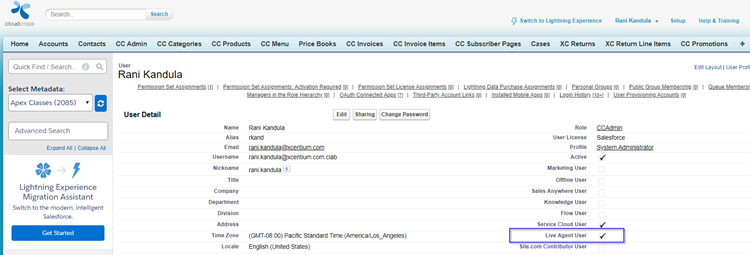
Step 2 - Create Live Agent Users
Pick a user and make him a live chat agent by checking Live Agent User
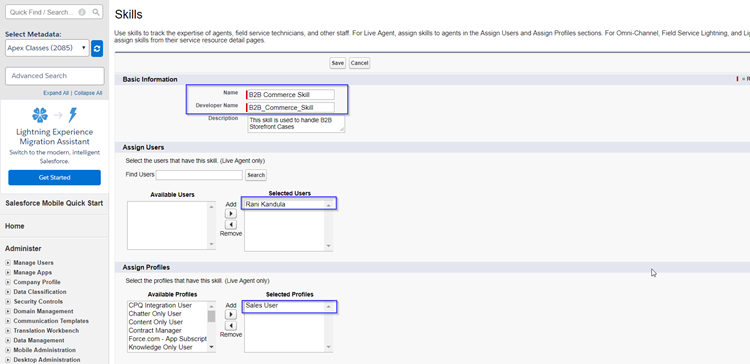
Step 3 - Create and Assign Live Agent Skills
Go to Setup -> Skills then create a skill and assign Live Agent users and Profile as below.
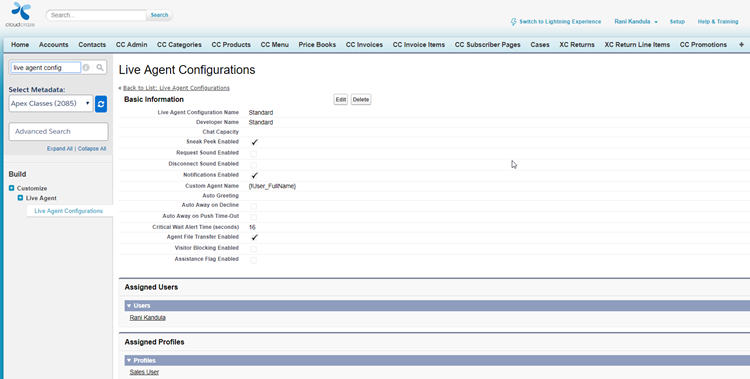
Step 4 - Create Live Agent Configuration
Go to Setup -> Live Agent Configurations and create a live agent configuration as below.
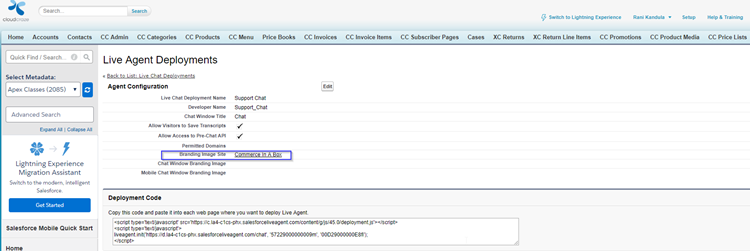
Step 5 Create Live Agent Deployments
Go to Setup -> Deployments, create a live agent deployment as below.
Choose your B2B Commerce Portal as Branding Image Site.
This step will create a code snippet under Deployment Code section.
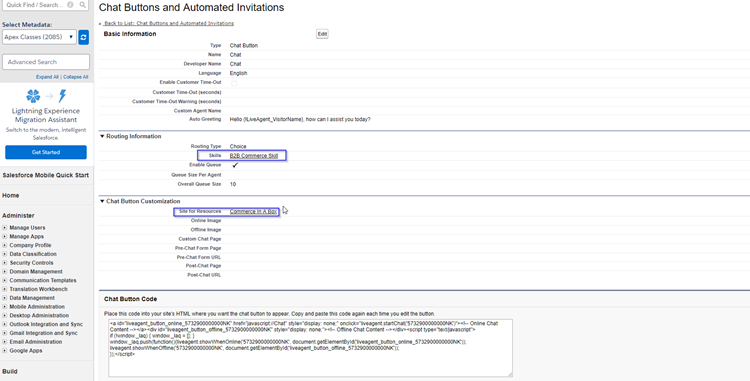
Step 6 - Create Chat Buttons
Go to Setup -> Chat Buttons and select Chat Buttons & Invitations
and create a button as below.
Choose the Skill that was created as a part of Step3.
Choose your B2B Commerce Portal as Site for Resources.
This step will create Code Snippet under Chat Button Code section.
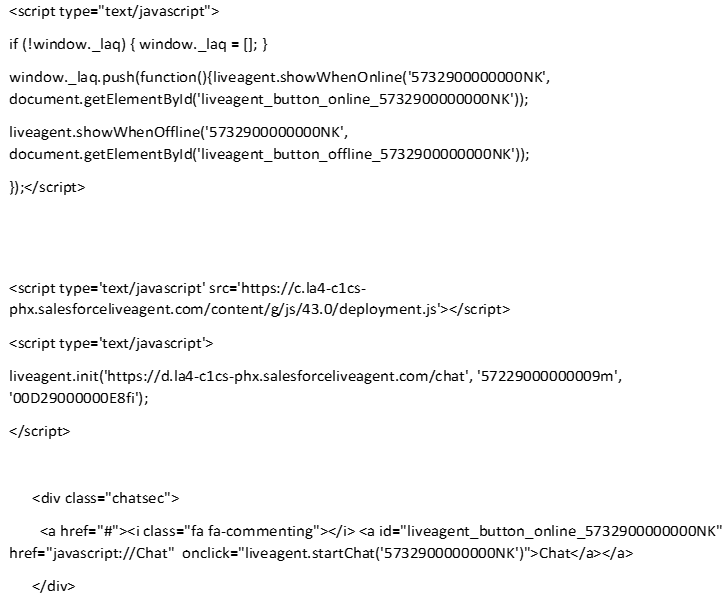
Step 7 - Copy & Paste the Code Snippets on the B2B Commerce Portal
Copy the code from Steps5&6, 6 and paste it in CC Header Footer Visualforce page as below.
Live Agent is Ready!
Chat link will now appear on the B2B Commerce Portal and ready to be used by the Portal Customers.
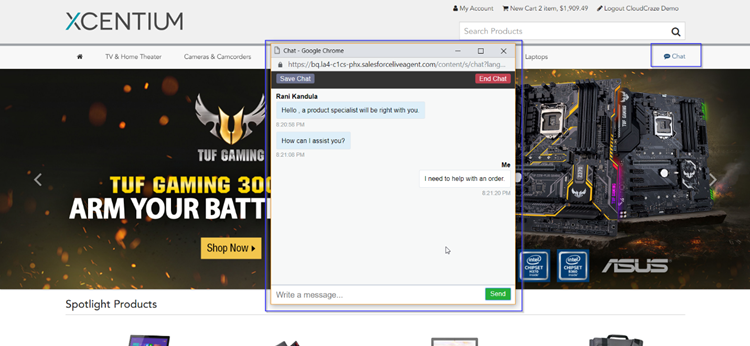
There you have it - chat made available to your B2B Commerce project in seven easy steps.
For more information on our Salesforce B2B Commerce Cloud services, please click this link.