
Salesforce Marketing Cloud s email studio is the industry leader in enterprise email marketing campaign management. Here at XCentium we have developed a service that allows us to integrate an Insite Commerce solution with a Salesforce Marketing Cloud account. This allows Insite to drive specific emails through Salesforce Managed Cloud's robust email management system based on actions made by the website s users as well as triggers identified by the client s ETL. This article provides high-level steps on what is needed to be done in both Salesforce Managed Cloud and our own Email Service in order for us to integrate an Insite Commerce solution with Exact Target with the following assumptions:
- A Salesforce Marketing Cloud account exists
- An associated Business Unit exists in the Salesforce Marketing Cloud with domain information that matches the Insite website
- ETL Processes are in place to update Insite s database
Set up Salesforce Marketing Cloud
There are many different types of emails and campaigns you can set up in Salesforce Marketing Cloud. The most common and most basic email send we set up for use with Insite is a Triggered Send. To set up a triggered send in Salesforce Marketing Cloud to be used with our integrated email service with Insite, follow these steps:
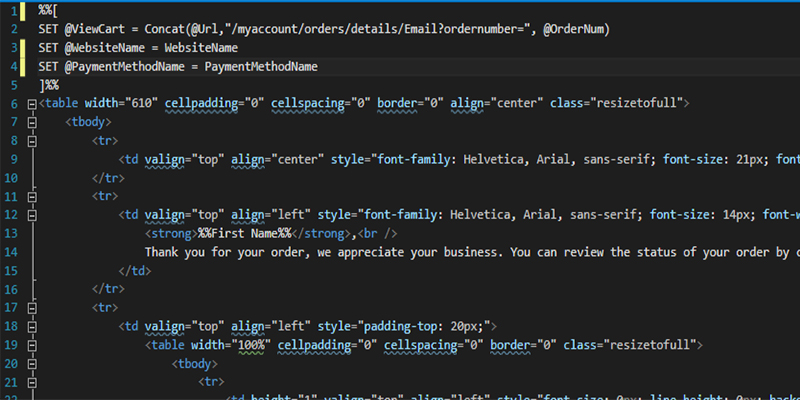
- Create an email under the Content section of Salesforce Marketing CloudThis is where you decide what your email is going to look like. You can use Exact Target s GUI for dynamic creation of content, or you can paste in HTML.Salesforce Marketing Cloud content uses the AMPScript scripting language for personalizing emails, SMS and MMS messages and push notifications. This is the language you will use to format your emails for any parameterized values you want to be sent from Insite s data to Salesforce Marketing Cloud's emails. Examples of these parameters would be Email, First Name, order details, etc.
- While I won't go too into detail about writing AMPScript, I will say that it is easily relatable to other programming languages. Here is an example of some coding used in AMPScript:
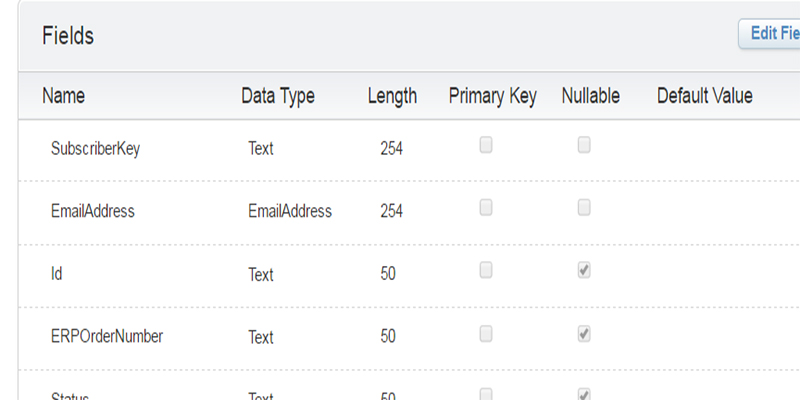
2. Create a Data Extension to be used with your newly created email for parameters
- Navigate to the Subscribers tab in Salesforce Marketing Cloud and click on Data Extensions.
- Click create and select the Standard Data Extension
- Name your new Data Extension and add fields based on the datatypes you would like to inject into your email.
3. Once your Data Extension has been created with all required parameters, create a new Triggered Email.
- Navigate to the Interactions tab and select Triggered Emails
- Click create and fill in all required fieldsThe External Key you use on this page will be needed to identify this send by the email service.
- Be sure to select the email you created in step 1 under the content portion of this create page
- Also, be sure to select the Data Extension you created in step 2 under the Triggered Send Data Extension portion.
- Save and publish your changes.
At this point, all configurations needed in Salesforce Marketing Cloud are complete and we are ready to begin configuring the email service.
Setting up the Email Service
The email service that we have created is exactly that: a service. It is a windows service that runs in conjunction with Insite that will identify triggers and other indicators to send an email through Salesforce Marketing Cloud. This service utilizes Salesforce s Fuel SDK to interact with Salesforce Marketing Cloud. The service runs in predetermined time intervals and checks various data locations for any triggers indicating an email should be sent.
To begin setting up the service a client key and client secret need to be obtained from Salesforce Marketing Cloud.Log in or create an account with the Salesforce Marketing Cloud App Center
Select Create New App with the API Integration TemplateProvide a name, description, and package identifier
Log into your Salesforce Marketing Cloud account and select the associated business unit you created your Email with in the first portion of this tutorial.
Select Read, Send, Write privileges for Email, List and Subscribers, Data Extensions, and Automations.
The generated Client ID and Client Secret will be needed for the email service and stored in Insite s Application Settings for easy access.
Create a method within the email service to send the appropriate email with the necessary data.The service is set up using Entity Framework with both Insite s database as well as its own that includes various tables for logging and maintaining records of sent emails. Using entity framework, we can pull data out of any of Insite s tables that may have the information we want to forward along with emails through Salesforce Marketing Cloud.
Given a list of parameters used in the Data Extension as well as the External Key of the Triggered Send, we can create a new method to send the email based on whatever criteria is necessary. For example, if the email created earlier was for Order Confirmation and should be sent when Insite creates a new order we would do the following:Create a record in a custom table made in Insite for Modified Orders
The email service will pick up the order number from that table (rather than scan original Insite tables), match it to the order created in Insite, pull the data and initiate the send.
This email service has been developed with reusability in mind. All configurations needed for the service to run properly have been integrated with Insite to be able to be controlled via Insite s Administration Console. Some of these configurations include:
- API client ID and Secret
- Triggered Send External Keys
- Enabling and Disabling specific emails
- Overriding recipient email address
In addition, in some cases we have extended the Insite Administration Console to control User and Bill-To level preferences for specific emails. See my blog about extending the Insite Administration Console here. I hope this blog provided a good idea on how we can integrate your Salesforce Marketing Cloud Email account directly into your Insite Commerce Solution.