XCentium Blogs
Technical
Sitecore Commerce Diary Customer pricing
This blog shows how Sitecore Commerce and Commerce Server can be used to implement special customer pricing using Virtual Catalogs.
One can create virtual Catalogs based on other existing catalogs and apply some pricing rules to the virtual catalog such that the price of the products pulled from the base catalog can be marked up
or down. One can then use the virtual catalogs for setting different pricing for different customers based on the relationship with the customers.
If the customers shops as guest, they see one set of pricing but if the customer were to log in, they see a different set of pricing based on the virtual catalog assigned to their user profile.
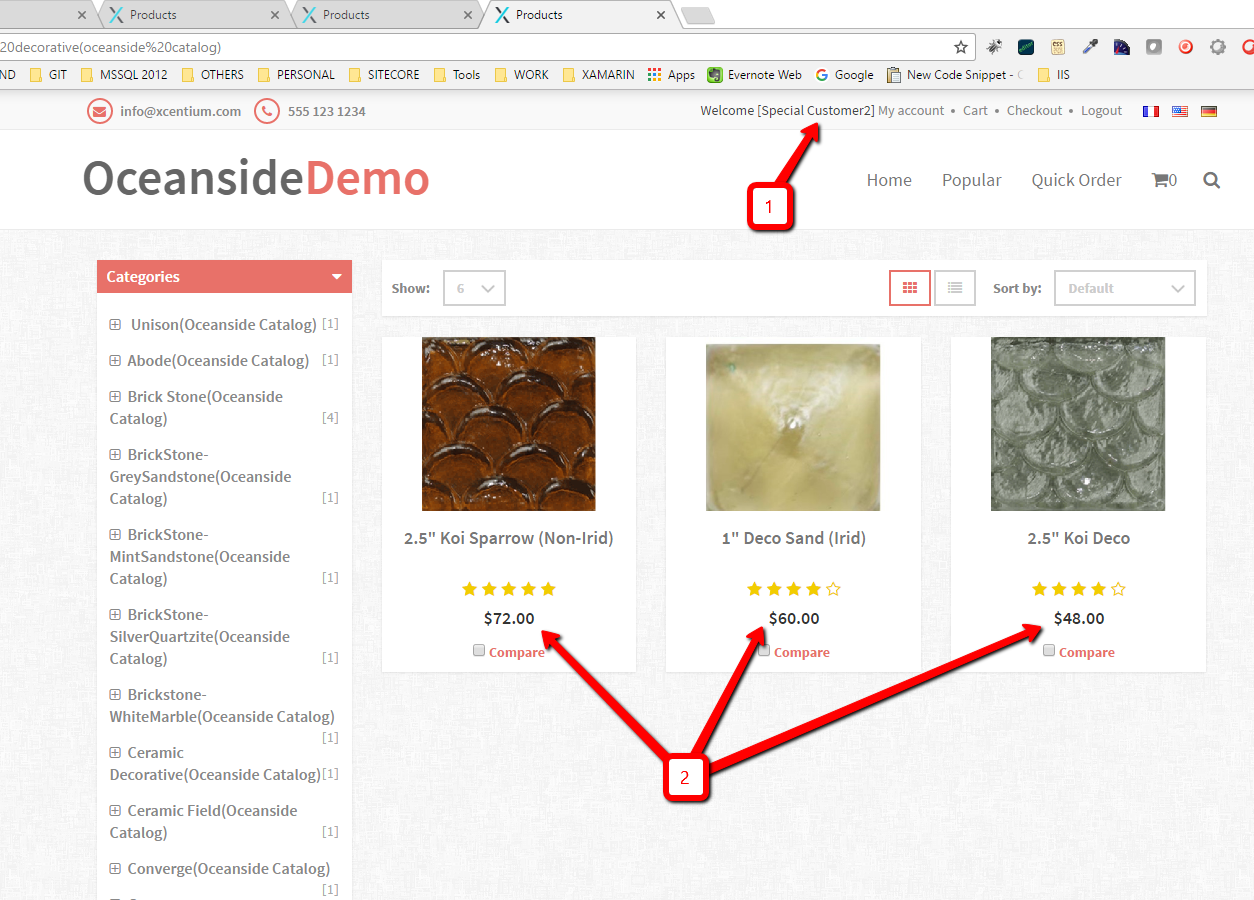
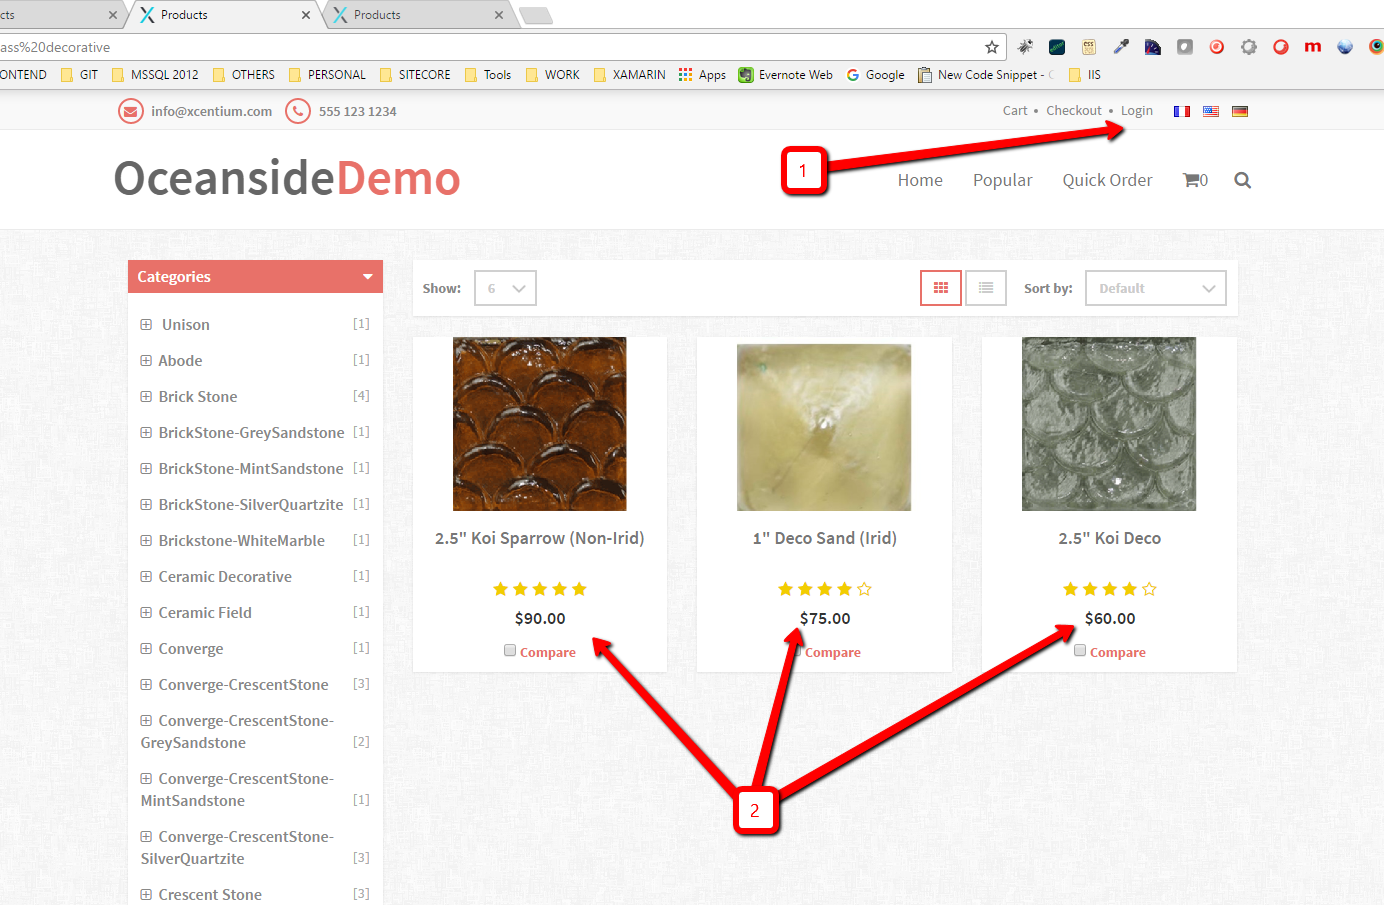
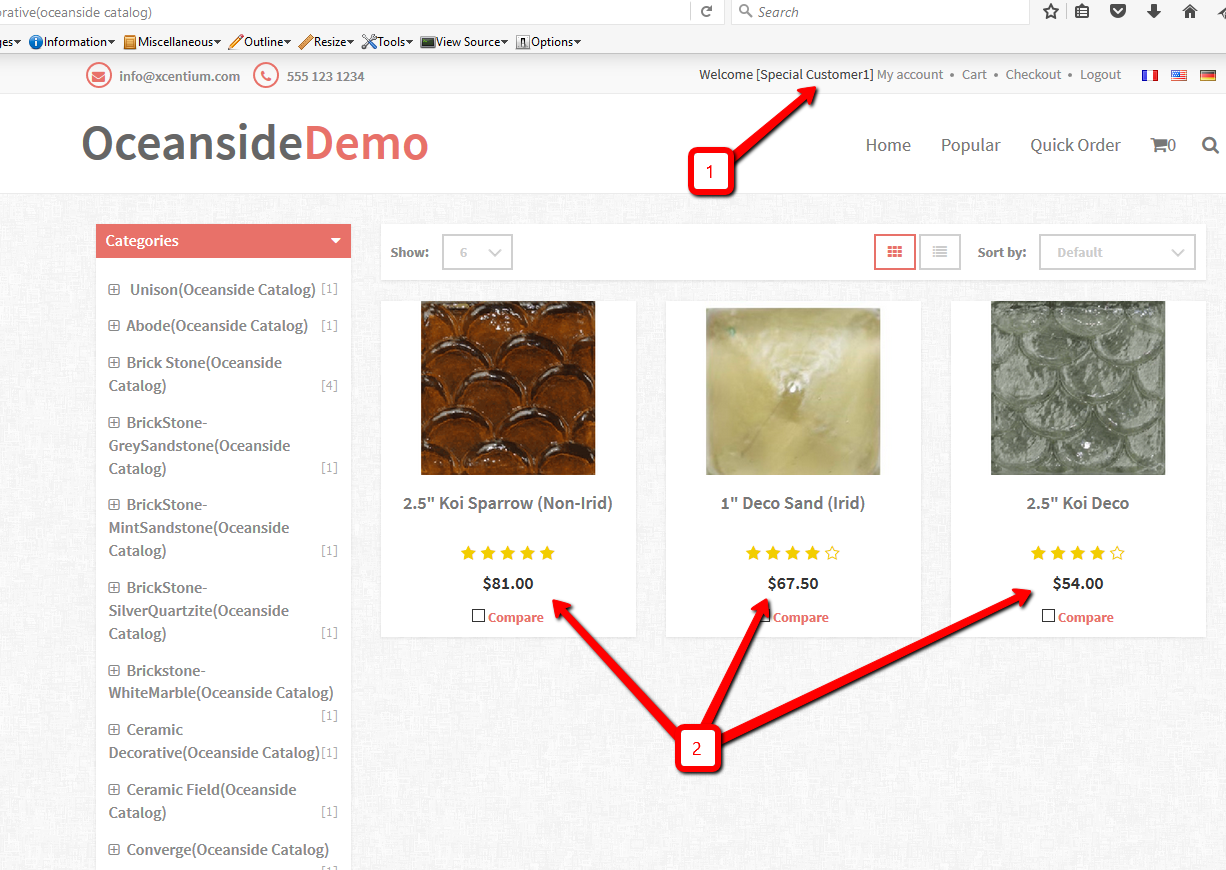
The figure below shows the pricing on a set of products as seen by all user types guests or logged in customers who do not have specially priced virtual catalogs assigned to their profiles.
In this demo, we are using a default catalog named Oceanside Catalog.

To make this show different pricing for two different customers say “specialcustomer1” and “specialcustomer2”.
We want special customer1 to always have 10% off while special customer 2 will always have 20% off.
We can accomplish this as follows:
Step 1:
Launch Commerce Server Catalog Manager and create two virtual catalogs based on the sites catalog. In our case, the site’s catalog is Oceanside Catalog.
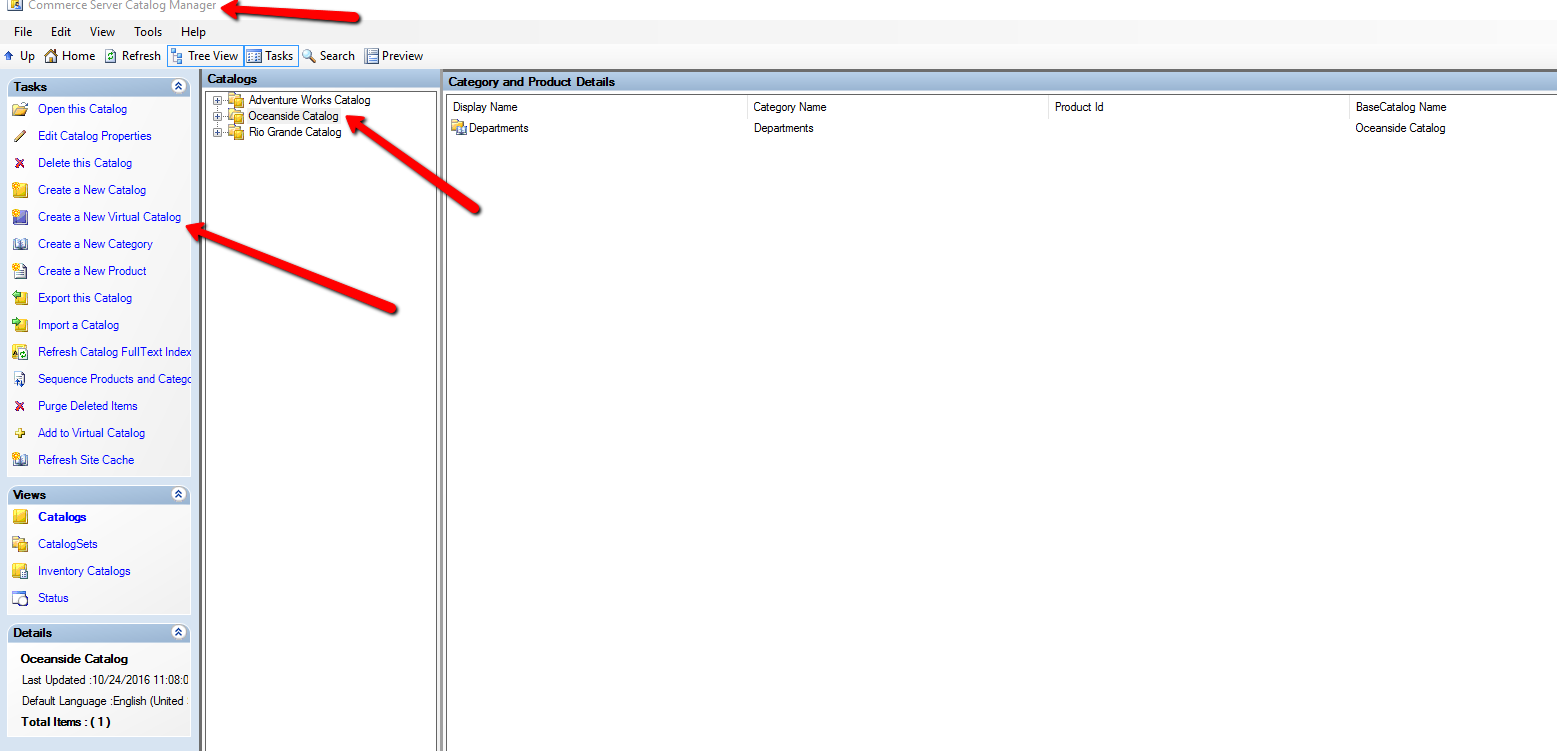
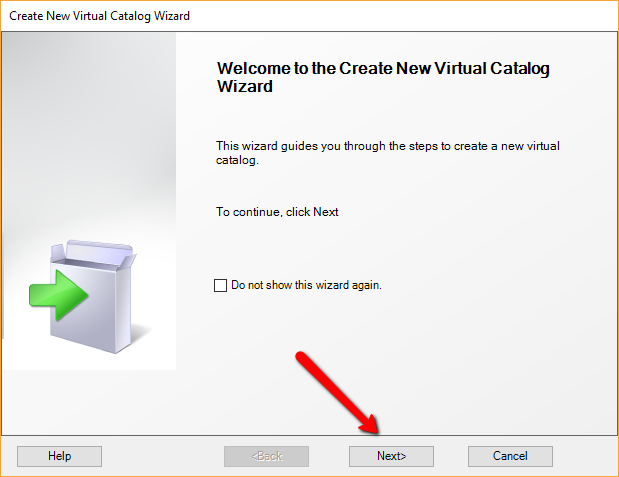
Step 2:
Click next as shown below.
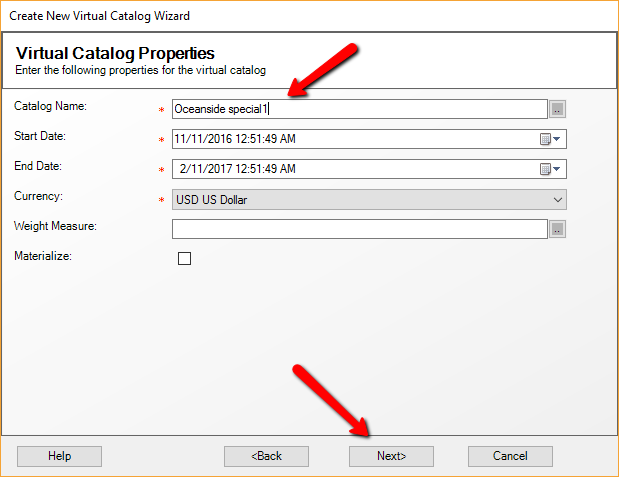
Step 3:
Type in a name for your virtual catalog in this case I typed “Oceanside Special1”, then click next.
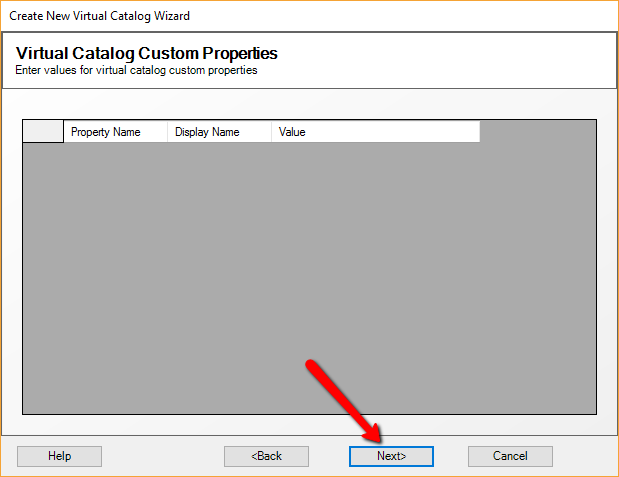
Step 4:
Click next on the next screen as shown below.
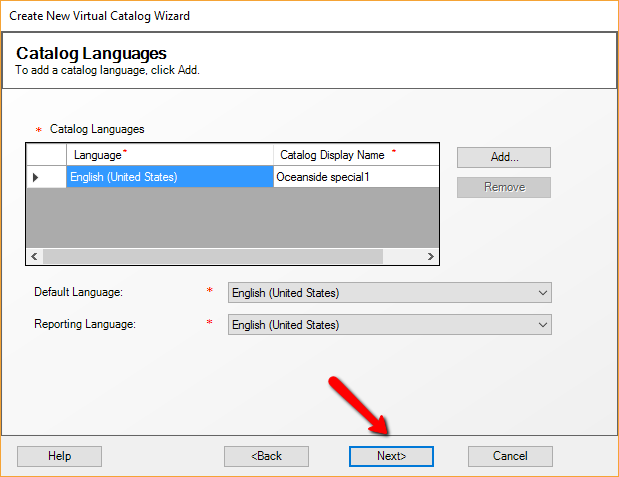
Step 5:
Click next again.
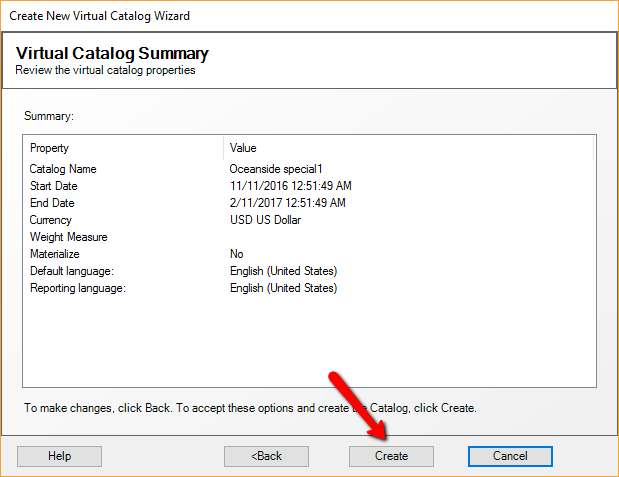
Step 6:
Click create.
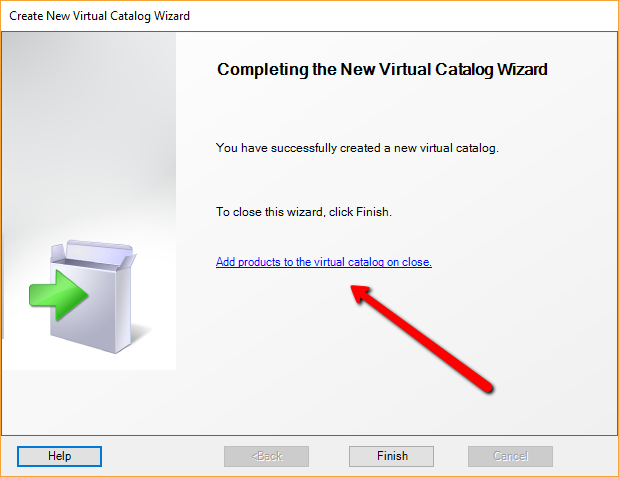
Step 7:
On the next screen, click add products to the virtual catalog on close.
Step 8:
Click next as shown below
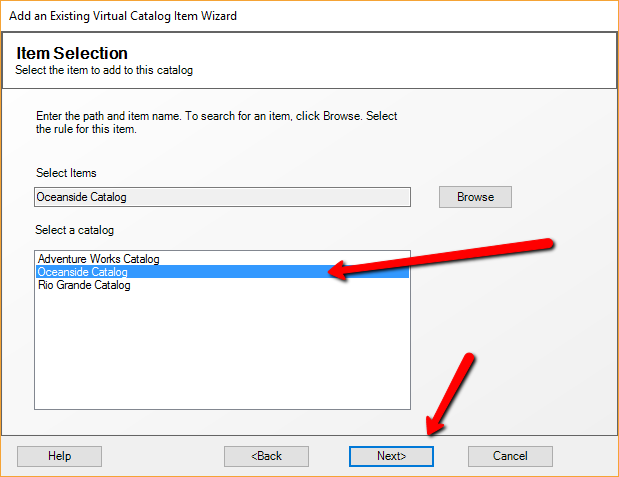
Step 9:
On the next screen, select Oceanside catalog as the base catalog for your new virtual catalog and click next.
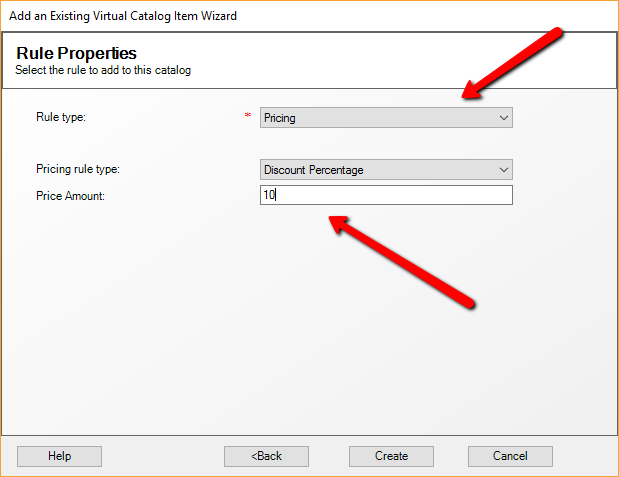
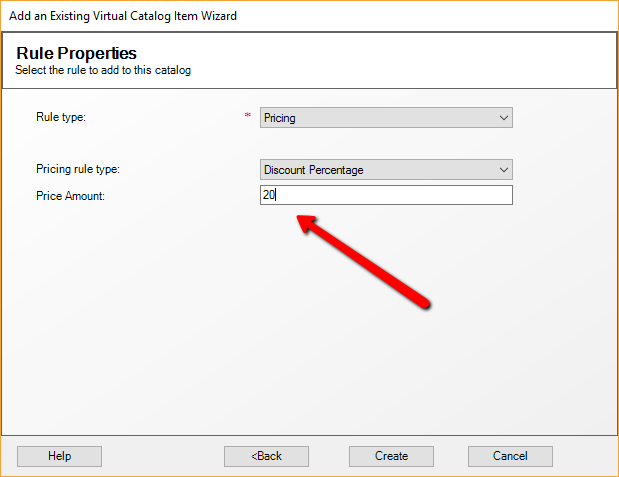
Step 10:
Select pricing form the first drop down, Select Discount percentage from the second drop down and type in 10 as the percentage discount value.
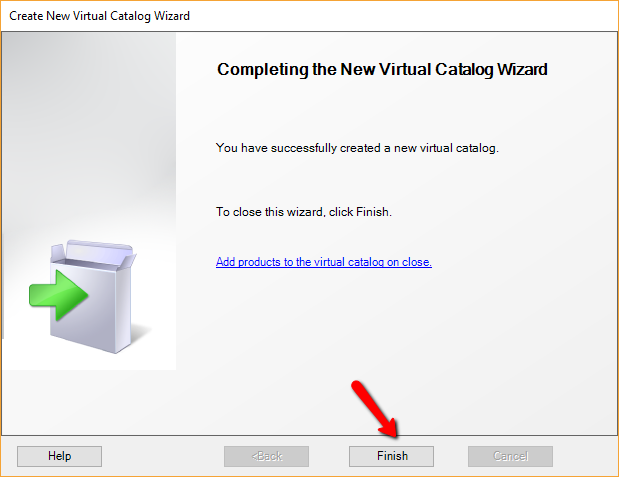
Step 11:
Click Finish.
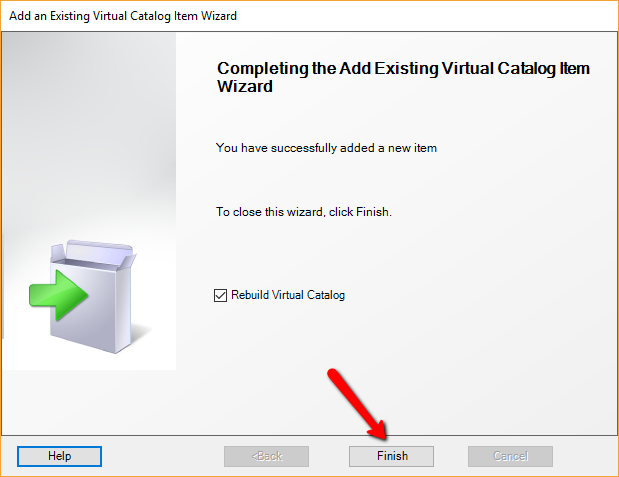
Step 12:
Click Finish again.
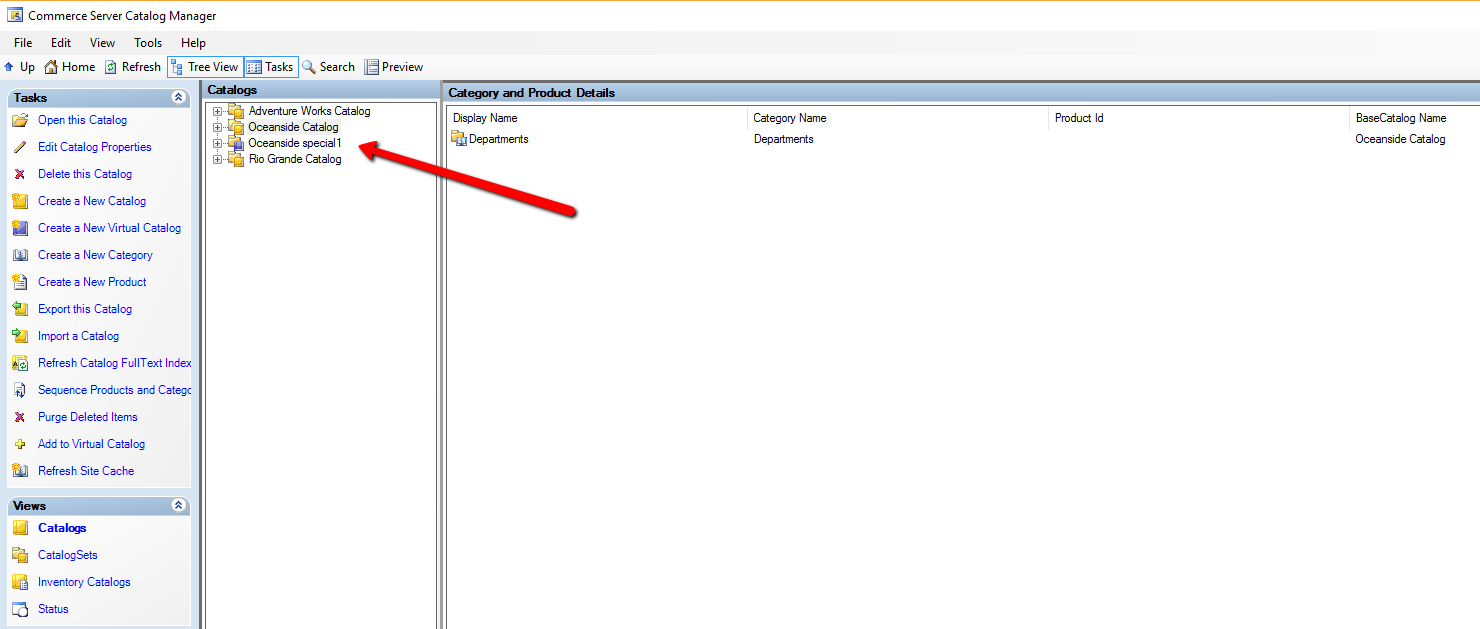
You will see that the new Virtual catalog “Oceanside special 1” is now created.
Repeat steps 1 to 12 to create “Oceanside special 2” Virtual catalog.
When you get to step 10, set the percentage discount appropriately. In our case, special customer2 will be getting 20% discount on all products as shown below.
Step 13:
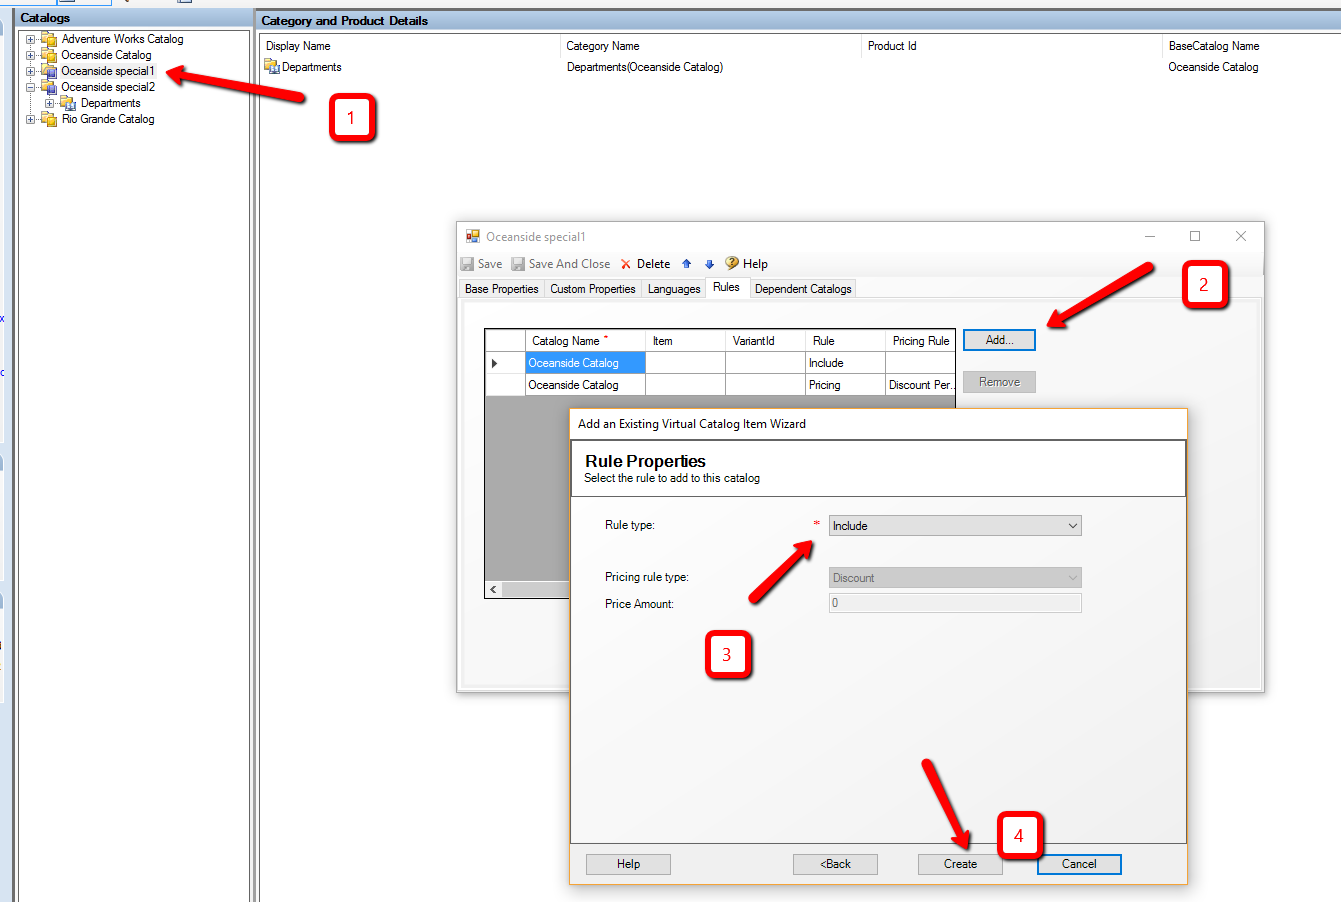
When both virtual catalogs are created and the discounts set, we need to create another rule to include the base catalog products that the discounts will apply to.
To do this, right click on a virtual catalog,
select “Edit catalog properties”
Switch to the Rules tab
Click Add and select base catalog the virtual catalog is based on. In our case, it is the “Oceanside Catalog”
Select include from the first drop down
Click Create
Repeat the steps for the second virtual catalog too.
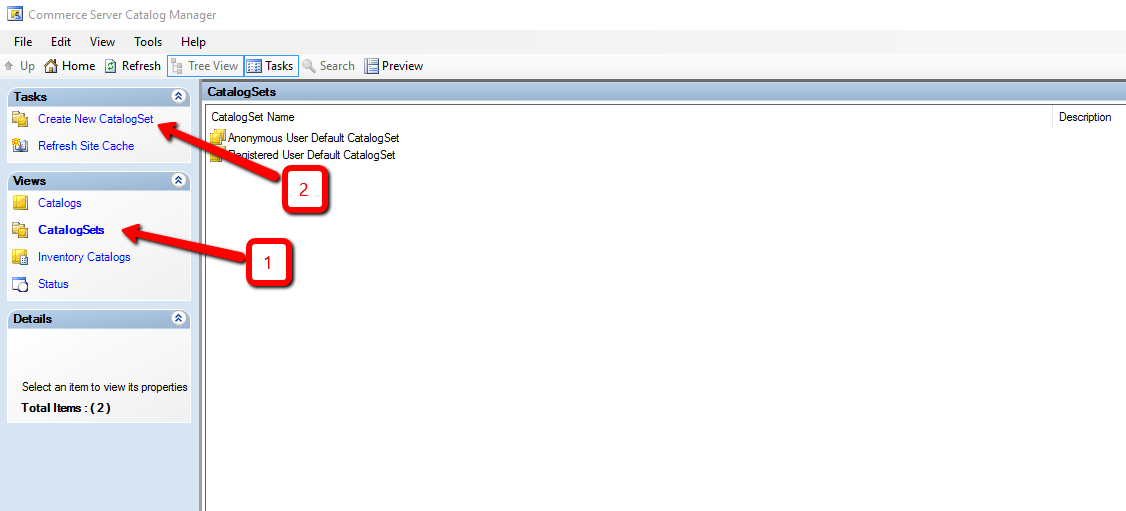
Step 14:
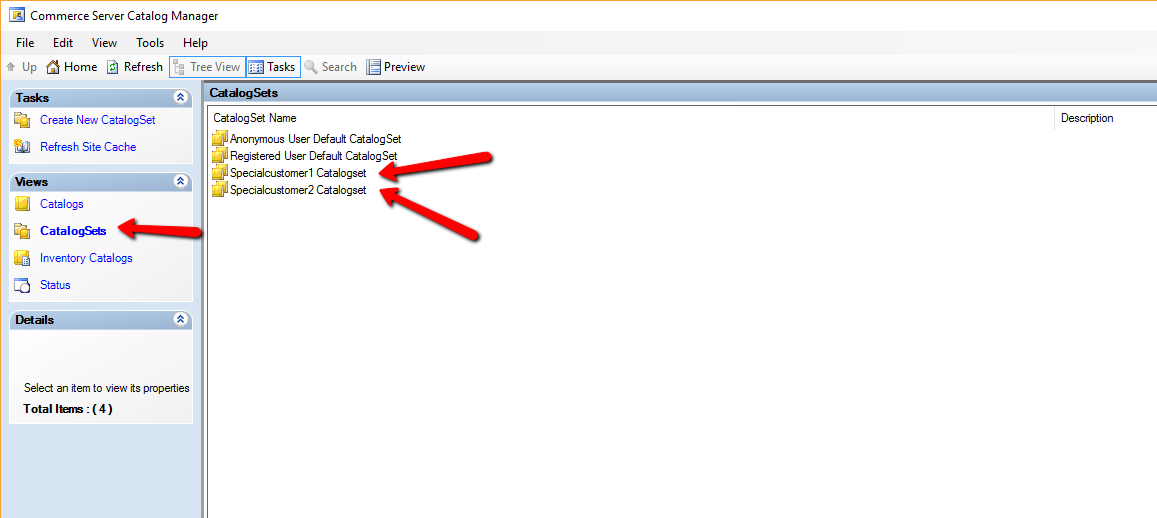
We now need to create 2 catalog sets to do that, in the Commerce Server Catalog manager tool, select “CatalogSets” and click “Create New CatalogSet”
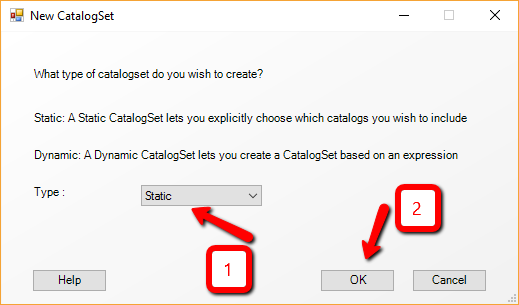
Step 15:
Select “Static” type from the drop down and click Ok.
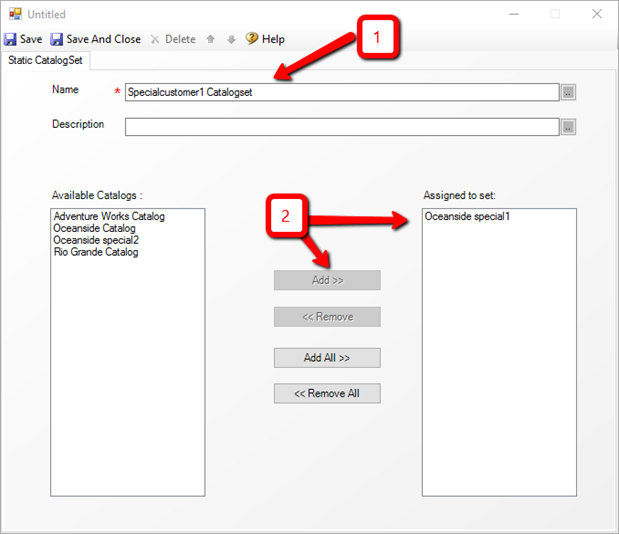
Step 16:
Type a name for the new catalog set and select one of the newly created virtual catalogs
Step 17:
Repeat steps 14 to 16 above for the second catalog set
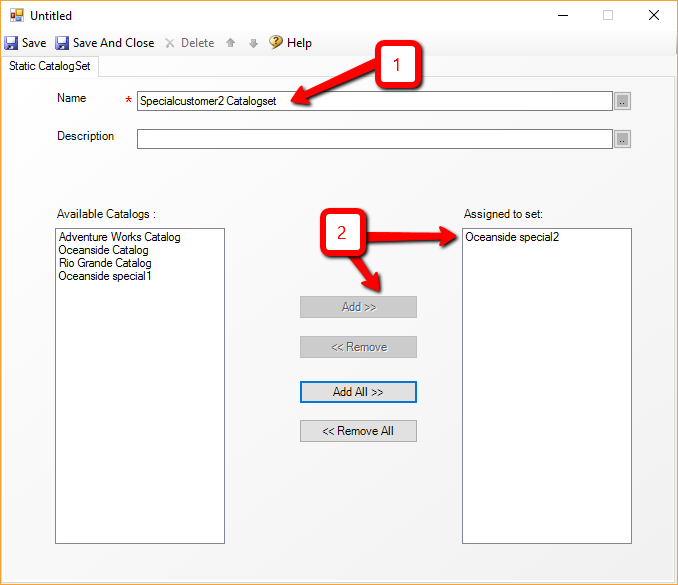
The two new catalogsets are as shown below.
Step 18:
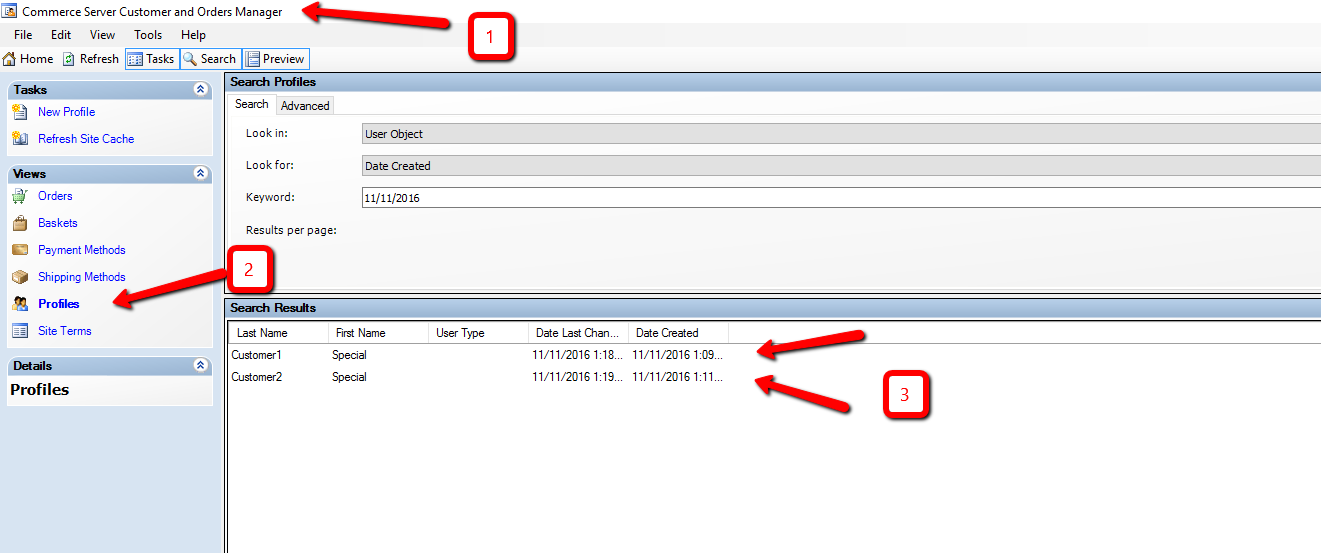
We now need to assign the two newly created catalog sets to Special customer1 and Special customer2. To do that, we need to launch “Commerce Server Customer and Orders manager”
Switch to profiles views
Search for the special customers
Step 19:
Open Special Customer1 and set its “User Catalog set” value to one of the newly created catalog sets, then click save and close.

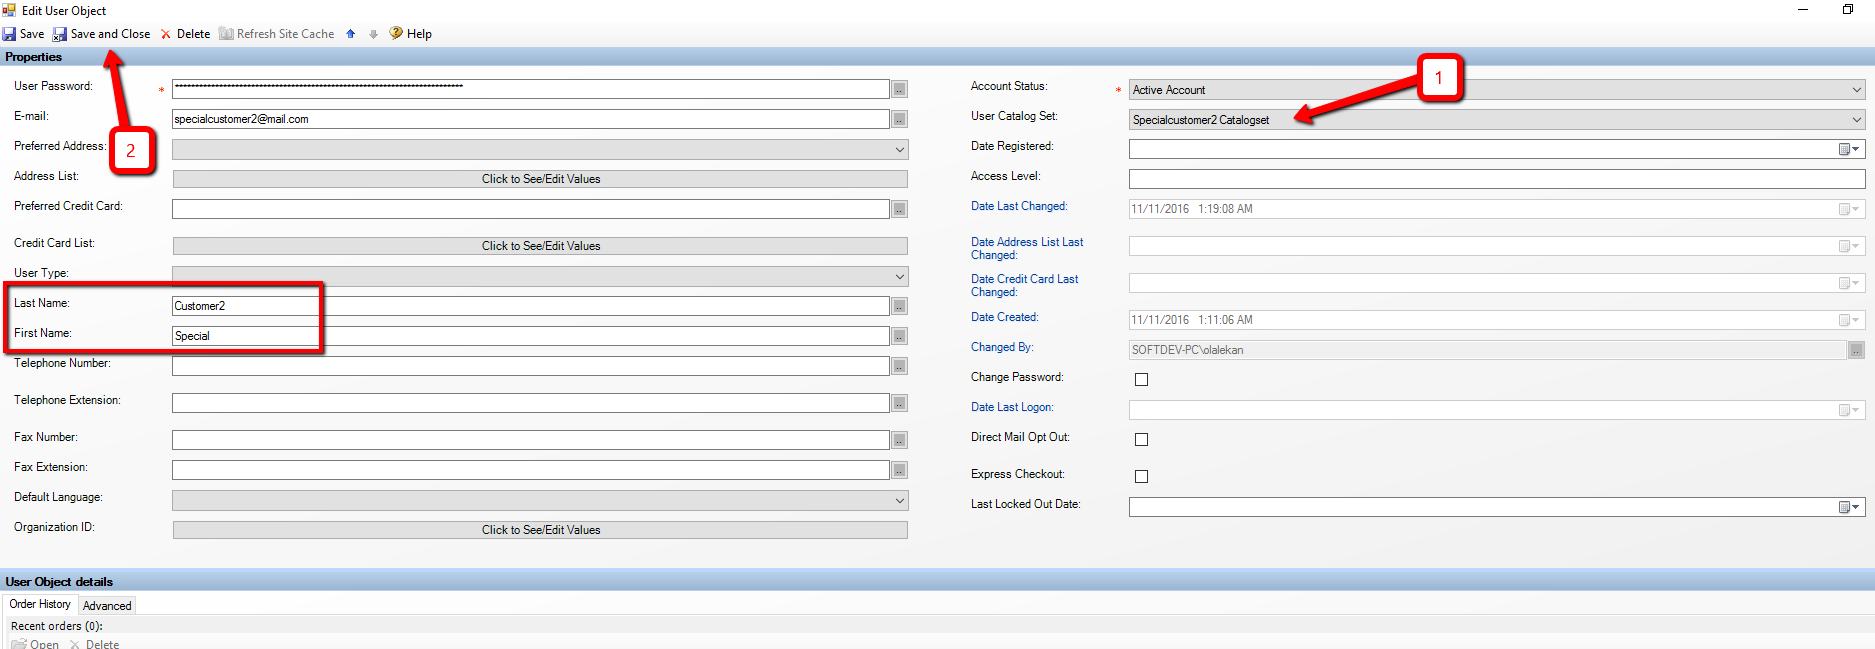
Step 20:
Open Special Customer2 and set its “User Catalog set” value to one of the newly created catalog sets, then click save and close.
Step 21:
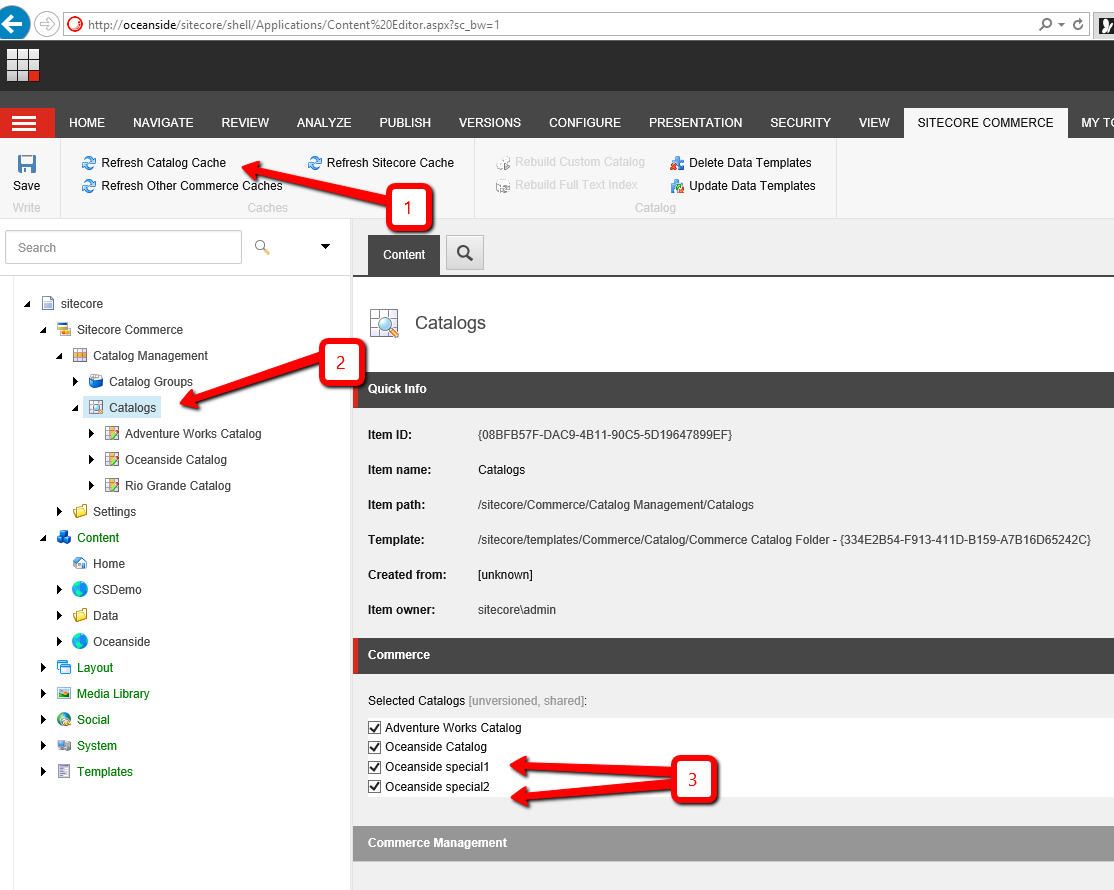
Go into Sitecore content editor, select the “SITECORE COMMERCE” tab, and refresh catalog cache, then,
Expand the tree to “/Sitecore/Commerce/Calalog management/Catalogs”
Check the check boxes next to the 2 newly created synch catalog sets.
Click Save at the top of the Ribbon.
Step 22:
Go and rebuild the index.
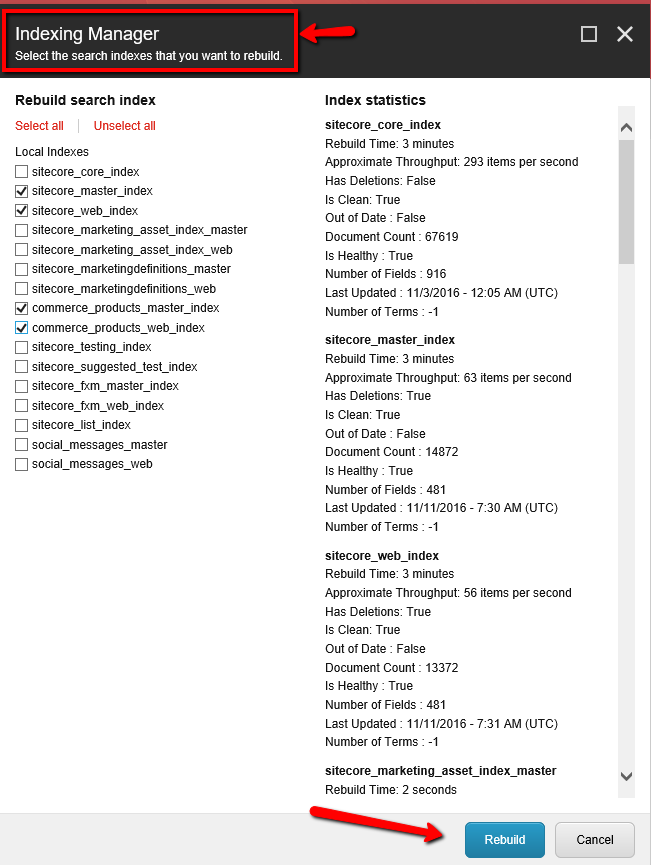
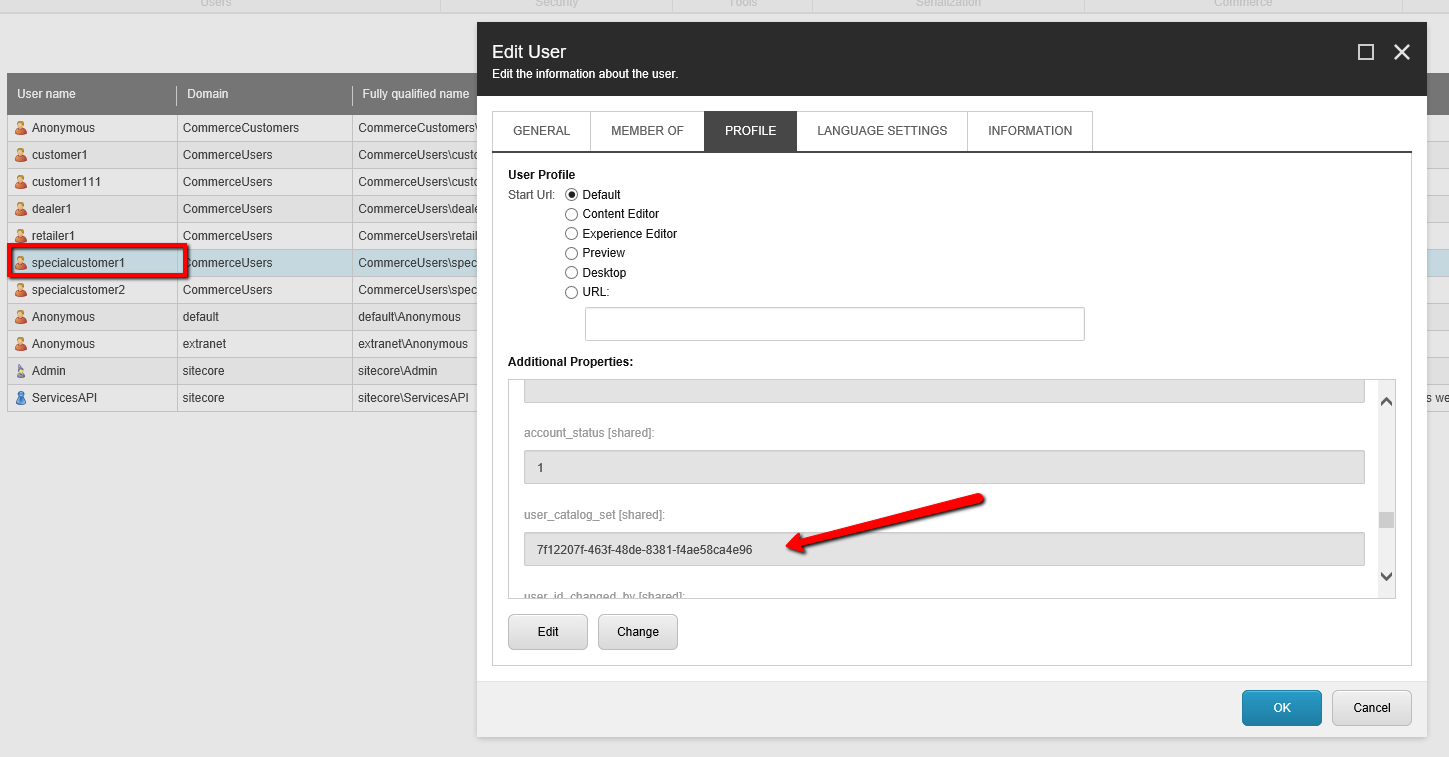
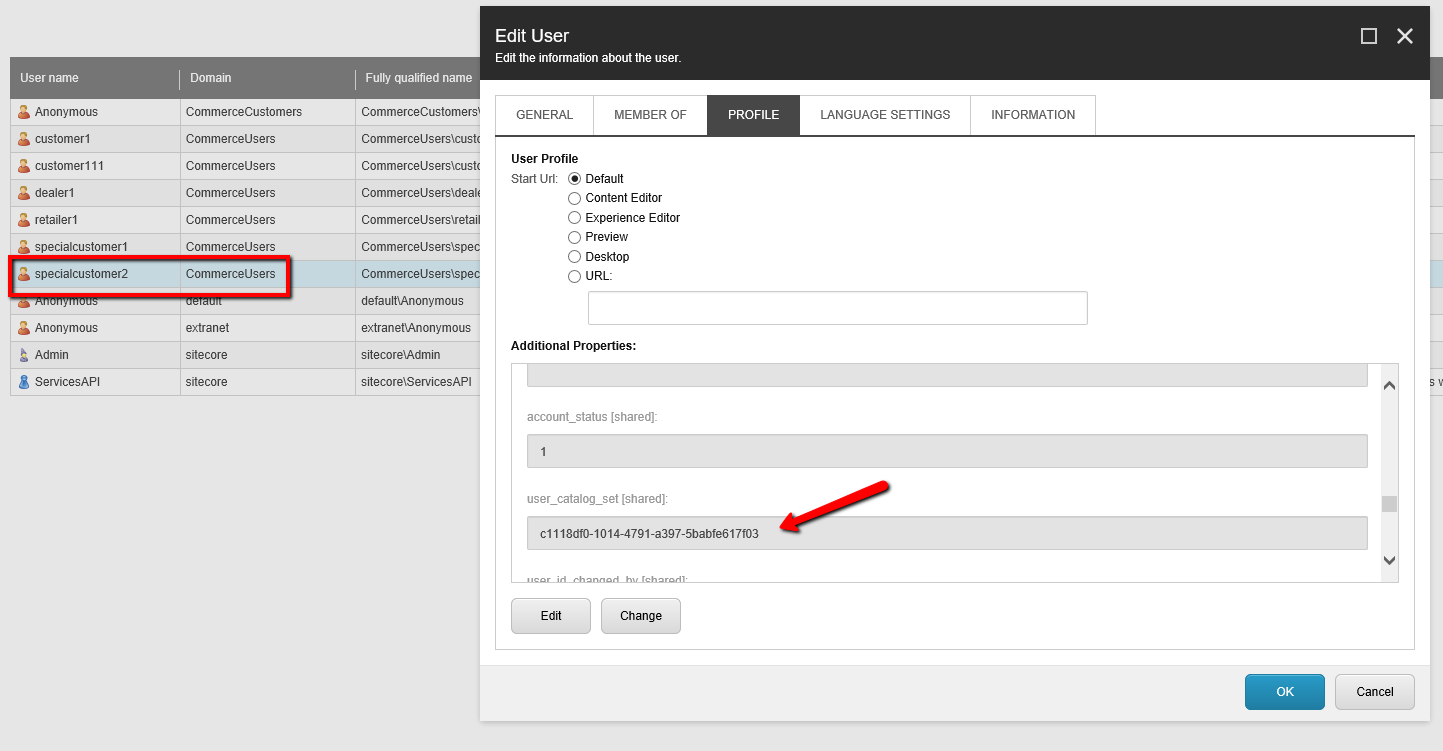
Step 23:
Go into Sitecore user manager and double click on specialcustomer1 or specialcustomer2’s profile, and switch to the profile tab.
You will see that the assigned catalog set has propagated into Sitecore from Commerce server.
Step 24:
In the application, one can then use the values of the customer's catalog set guid to determine the source of the catalog products that is shown to a customer.
So, for guest and non special customers, they will be seeing the default catalog's product prices as shown below:
When logged in as specialcustomer1, the price that is displayed is less by 10% as shown below:
When logged in as specialcustomer2, the price that is displayed is less by 20% as shown below: