

This Article is a series that will explore setting up a Sitecore Commerce Site and development environment with some code snippets showcasing what Sitecore Commerce can do and how it can be used effectively with ease.
Prerequisites to installing Commerce Server for Sitecore on your local machine:
- You must be local admin on your local machine.
- You must have Microsoft SQL Server 2012 or higher on your local machine and you need to grant your windows login sysadmin and public privileges.
- You need to have Visual Studio 2013 or higher on your local machine (this is for the development environment setup later).
Follow the steps below to setup Commerce Server 11.3
Step 1:
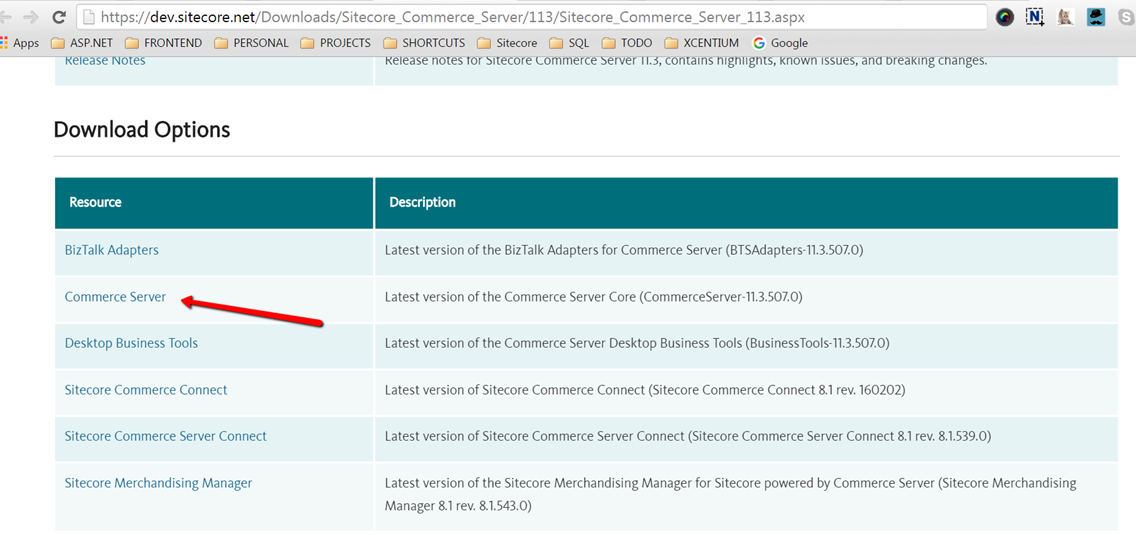
Visit the web address: https://dev.sitecore.net/Downloads/Sitecore_Commerce_Server/113/Sitecore_Commerce_Server_113.aspx and download Commerce server
Step 2: After downloading the .exe file, double click it to start the installation process.
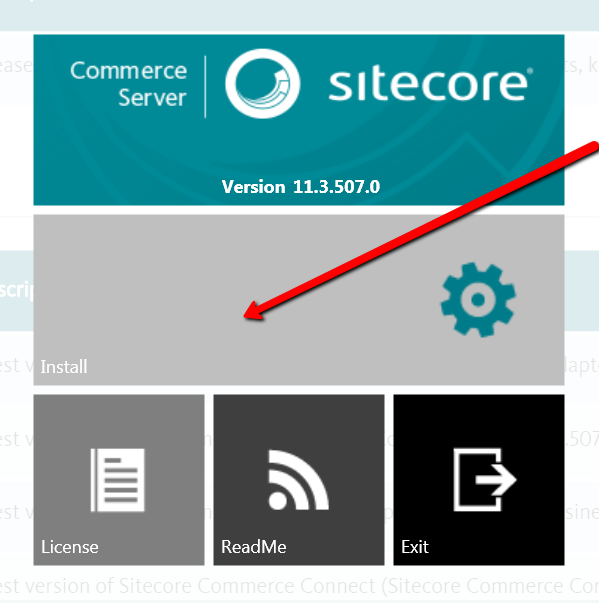
Step 3: Click Install on the splash screen displayed.
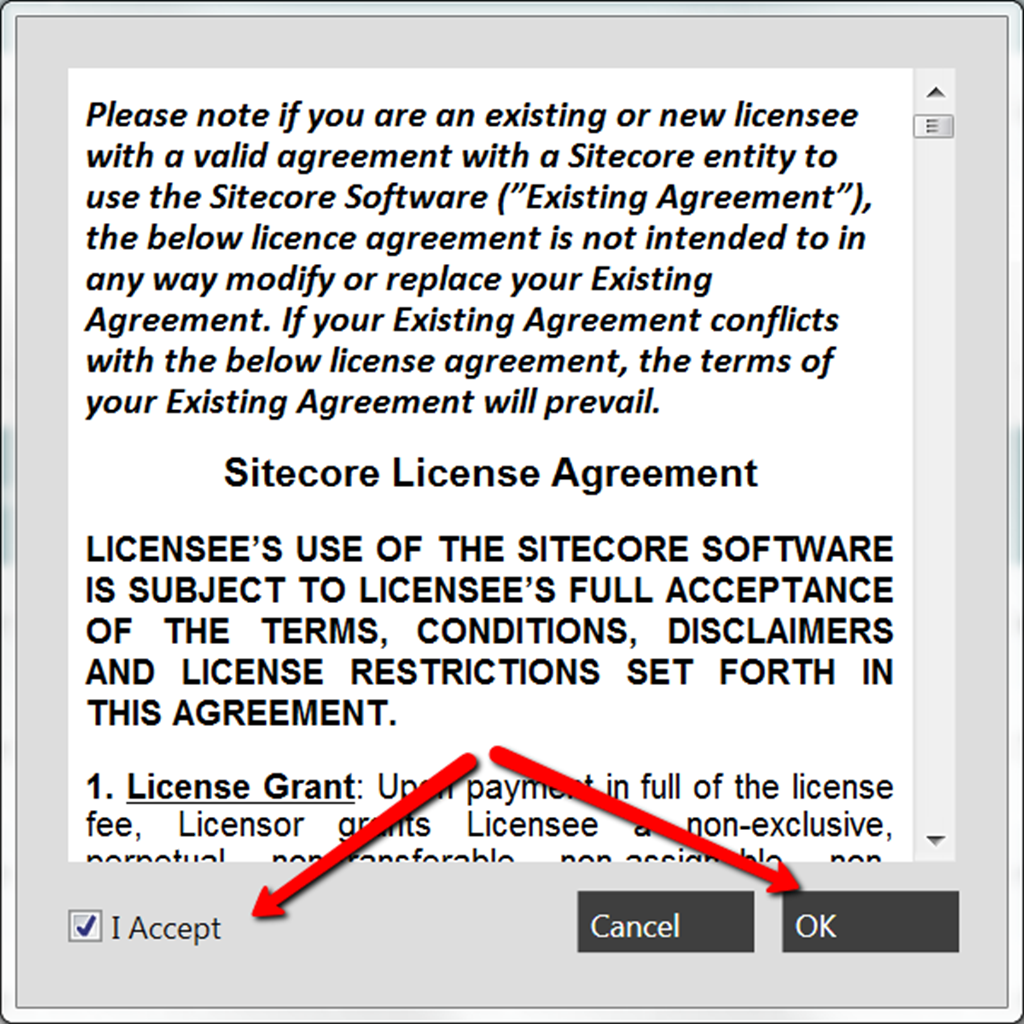
Step 4: Accept the license agreement if you like to continue and click OK as shown below
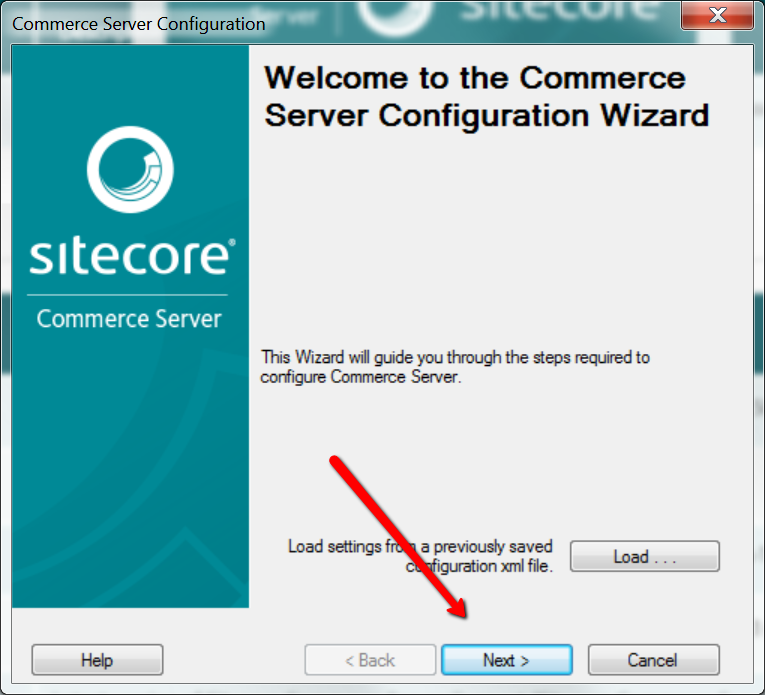
Step 5: When you get to the configuration manager, click Next as shown below:
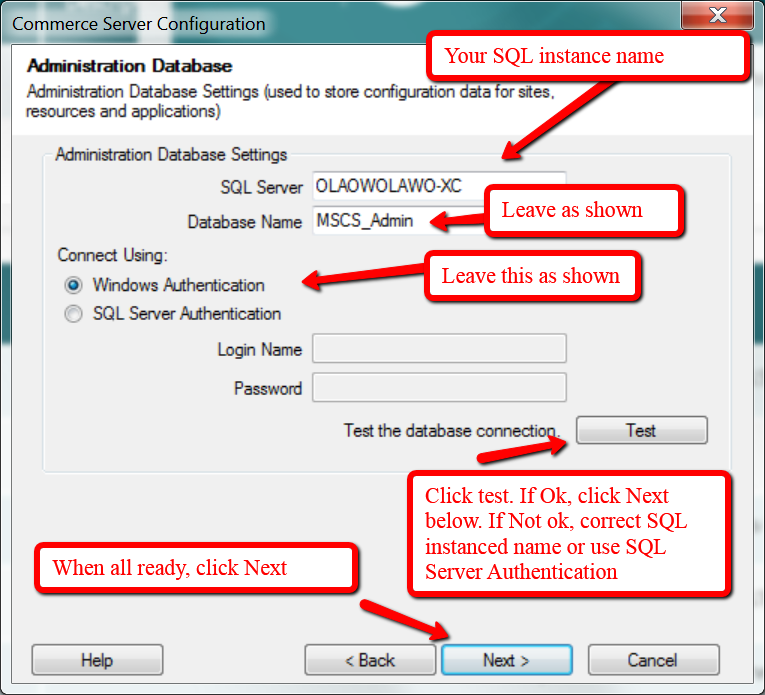
Step 6: the default of the screen below should be fine with windows authentication. If you have multiple instances of SQL server on your machine you may change the first field to use the SQL instance you like to use.
If you do not also want to use the default windows authentication as I have dome on my local environment, you may change to SQL Server authentication and provide your correct username and password. When done, click next.
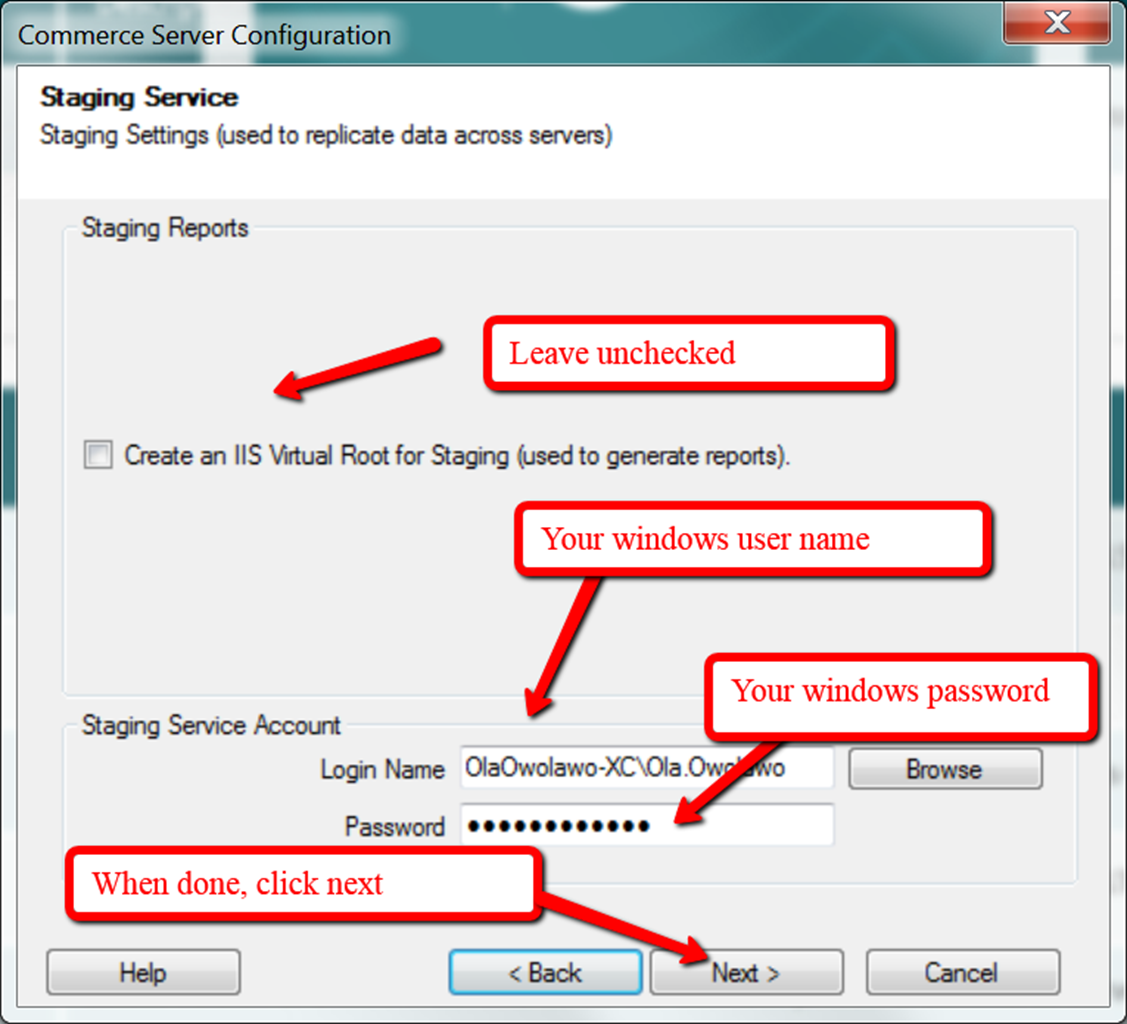
Step 7: Input your windows username and password and click next
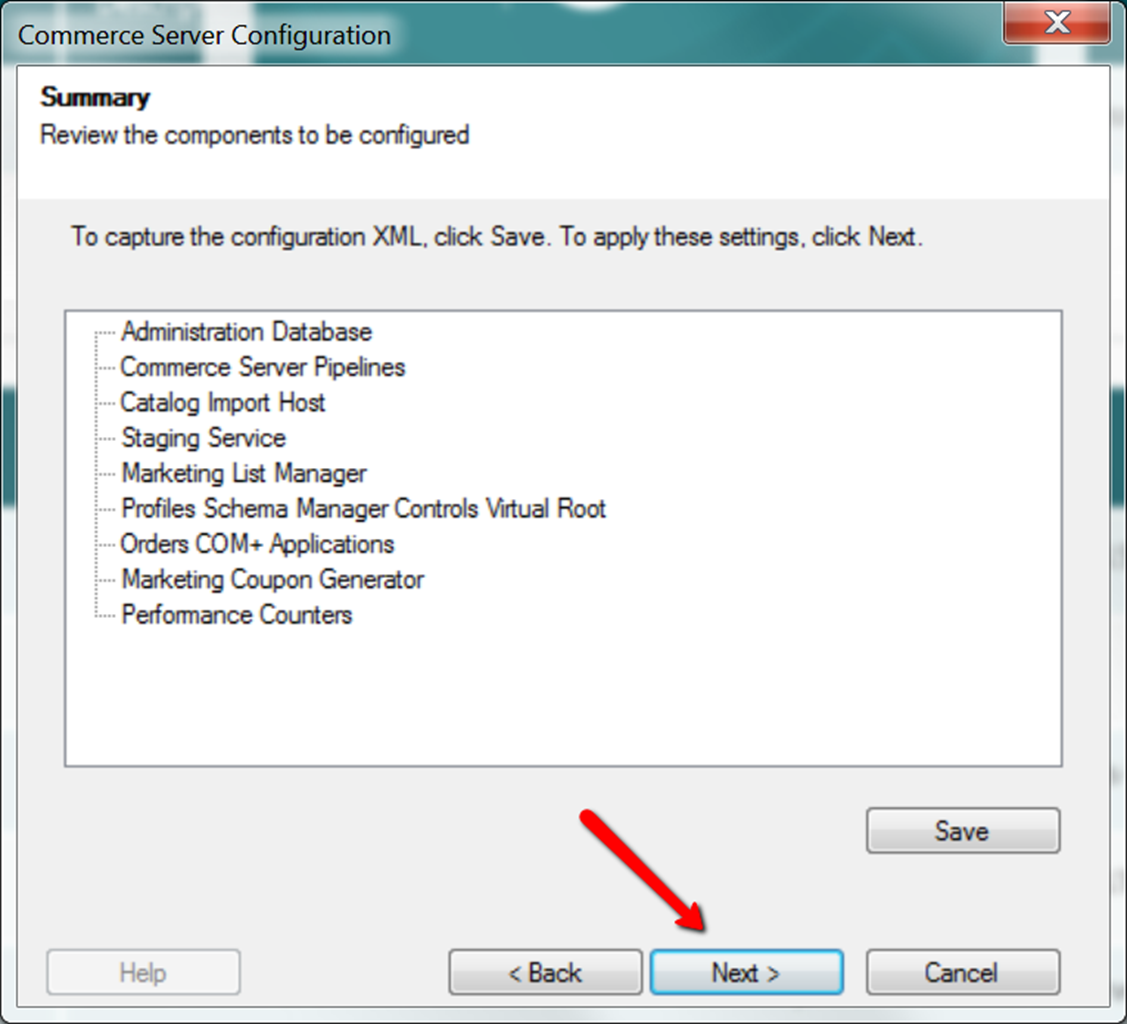
Step 8: on the next screen simply click next to apply the settings listed
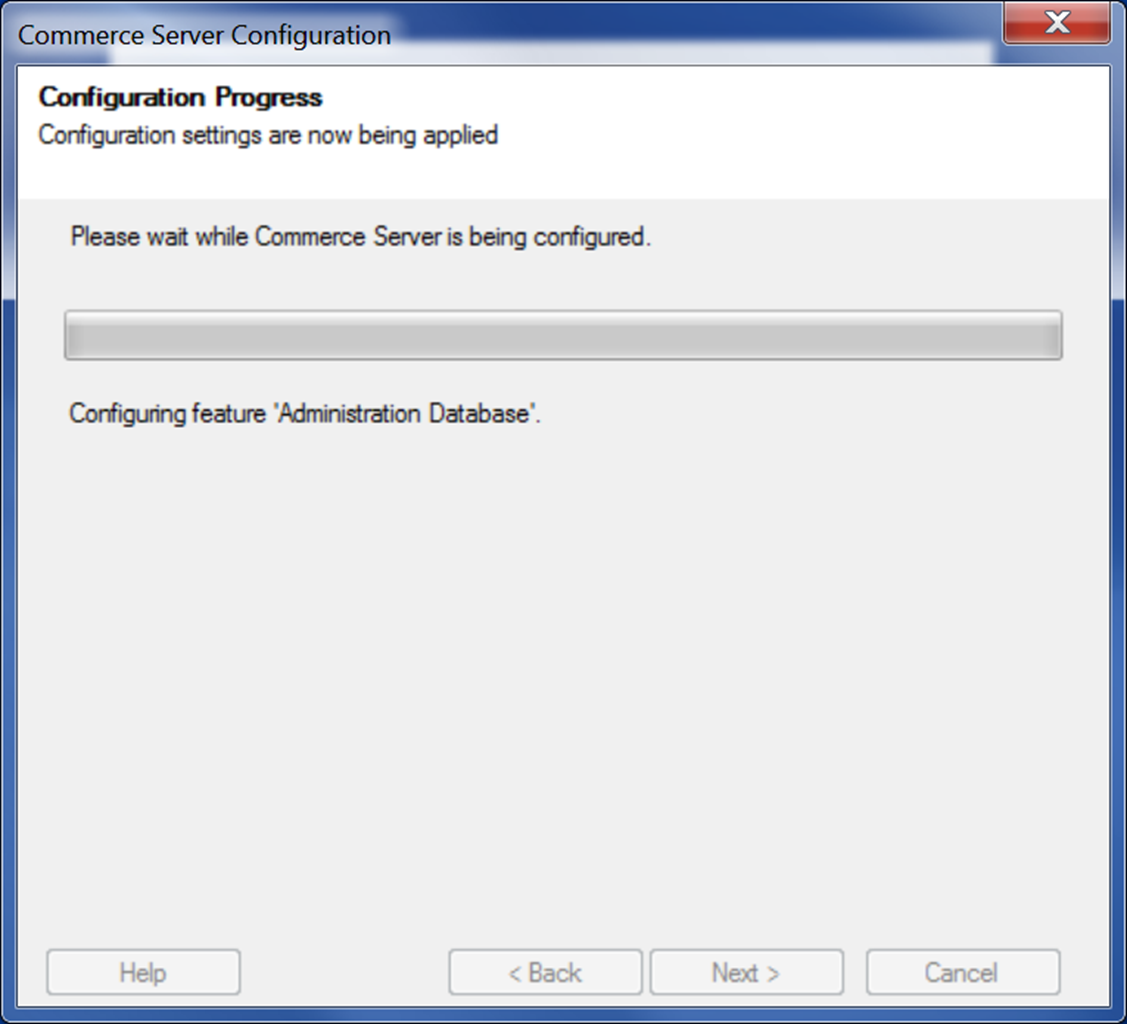
Step 9: Wait for the configuration to run and complete.
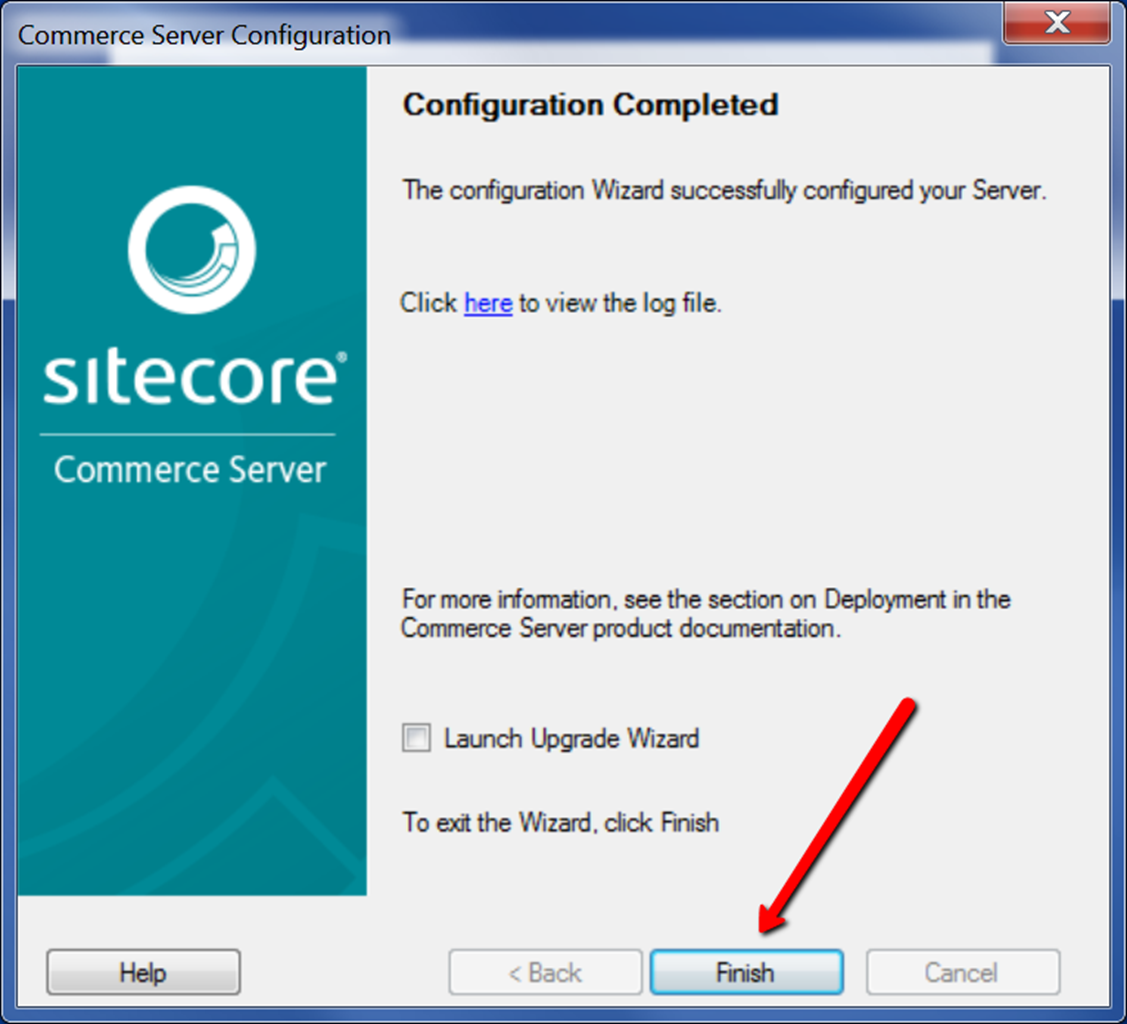
Step 10: When the configuration is complete, click finish as shown below.
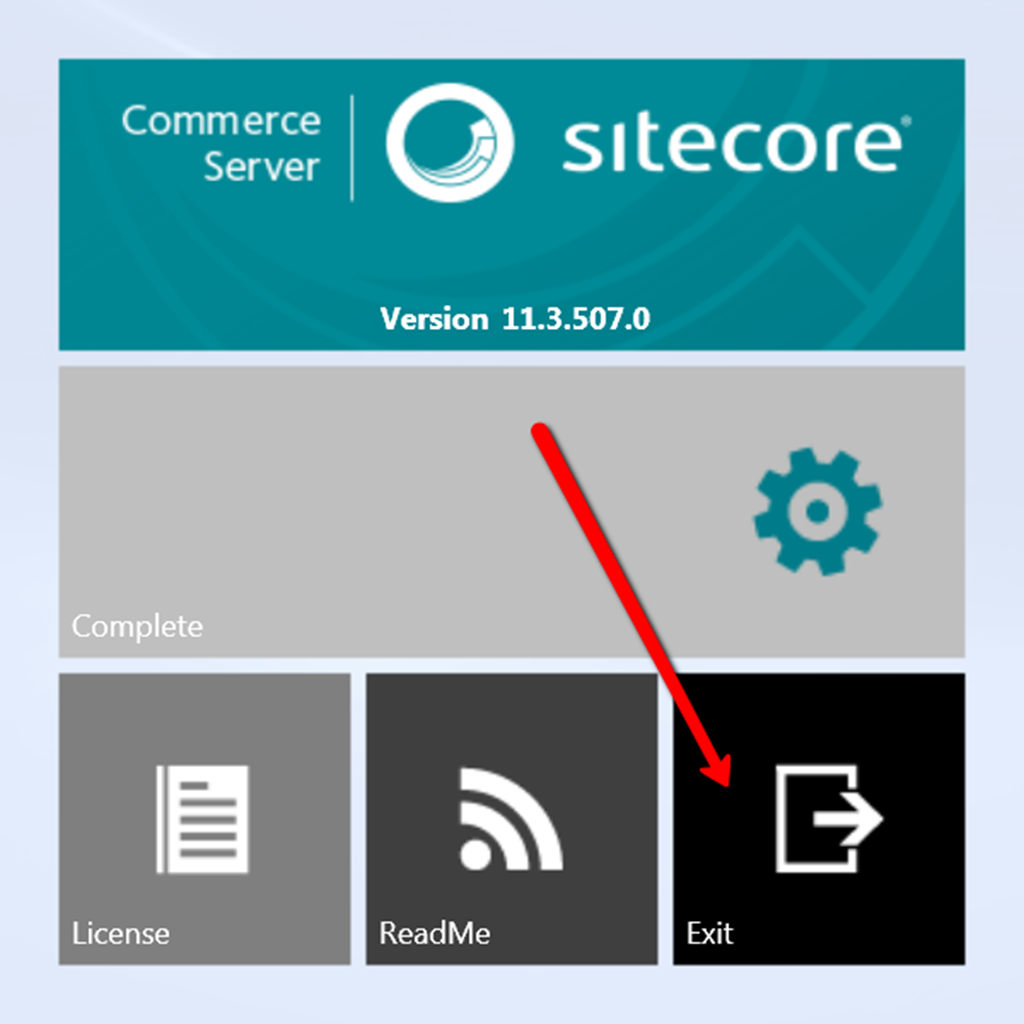
Step 11: On the next screen, click exit and you are done installing Commerce server 11.3.
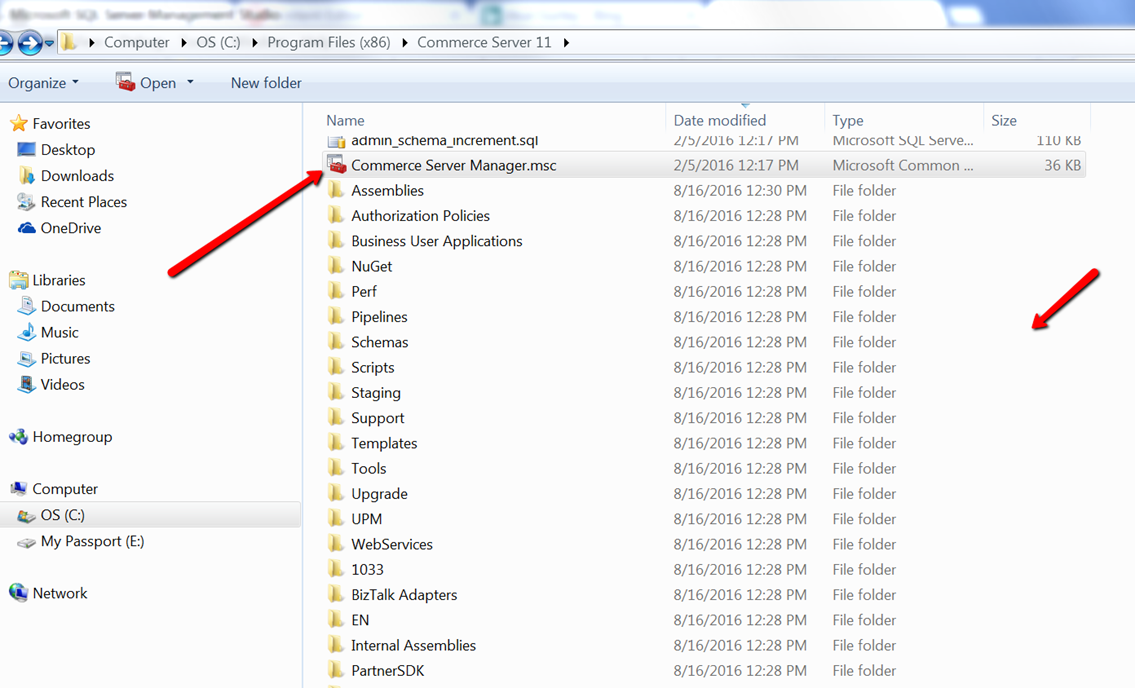
Step 12: Open explorer and navigate to C:\Program Files (x86)\Commerce Server 11 to see your installed assemblies and other files.
Click on Commerce Server Manager.msc
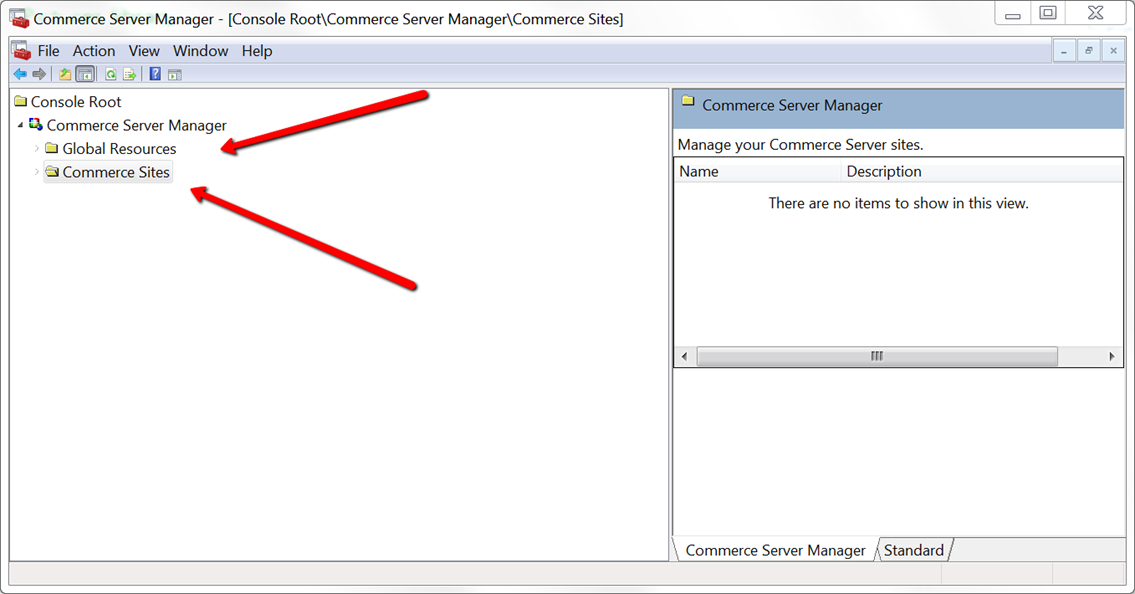
You will see that there are no sites at the moment, we will create some later.
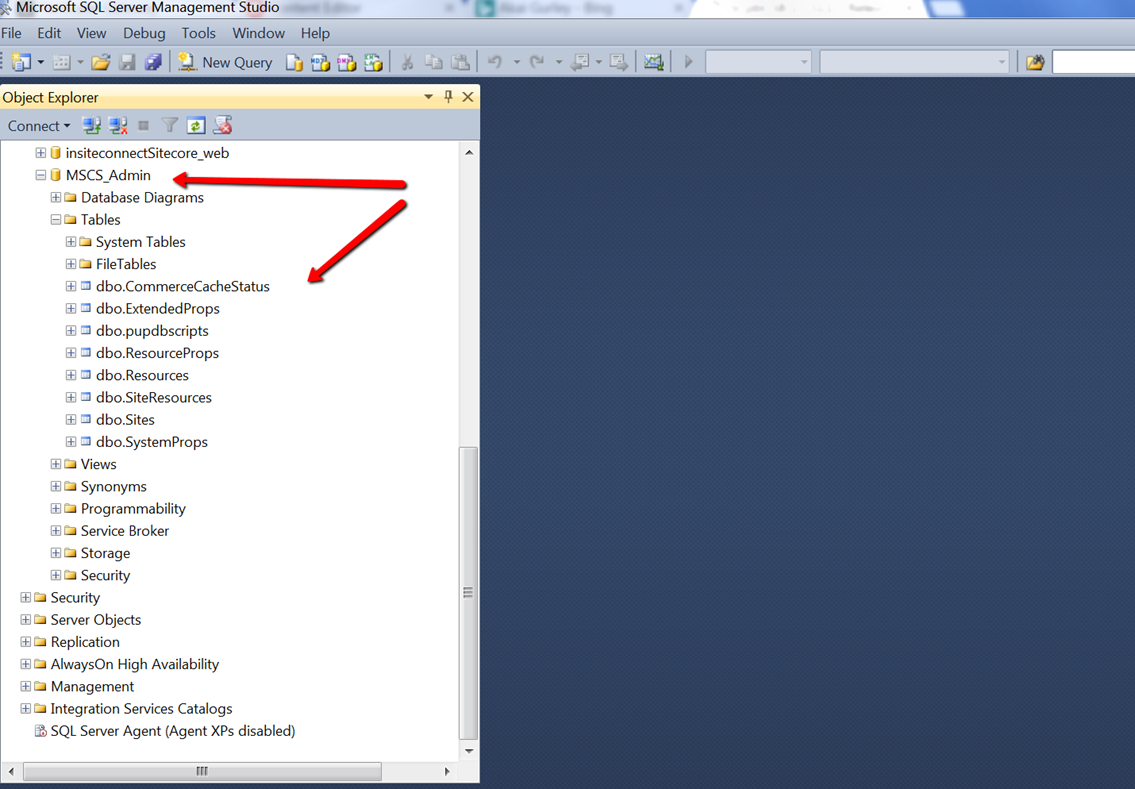
Step 13: Open Microsoft SQL Server and observe that a database named MSCS_Admin has also been created for Commerce Server.
Step 14: Visit for release notes, visit: http://commercesdn.sitecore.net/SCpbCS81/releasenotes/en-us/index.html
In Sitecore Commerce Diary: 2, we will create the Commerce Server web services sites.